
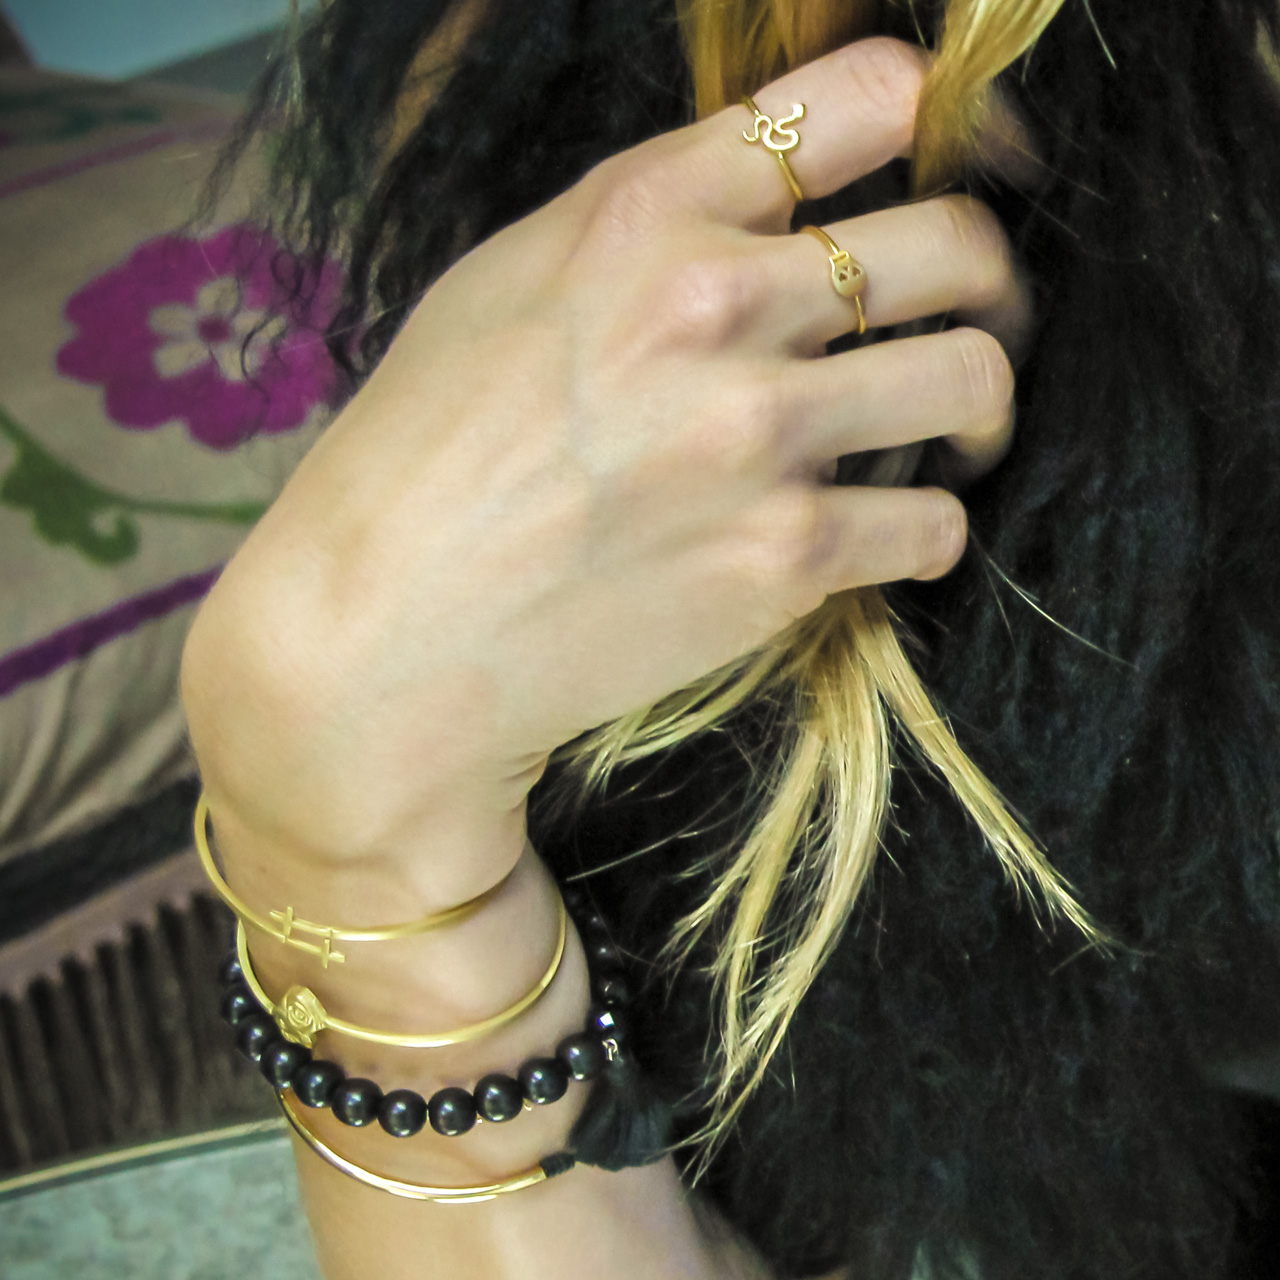
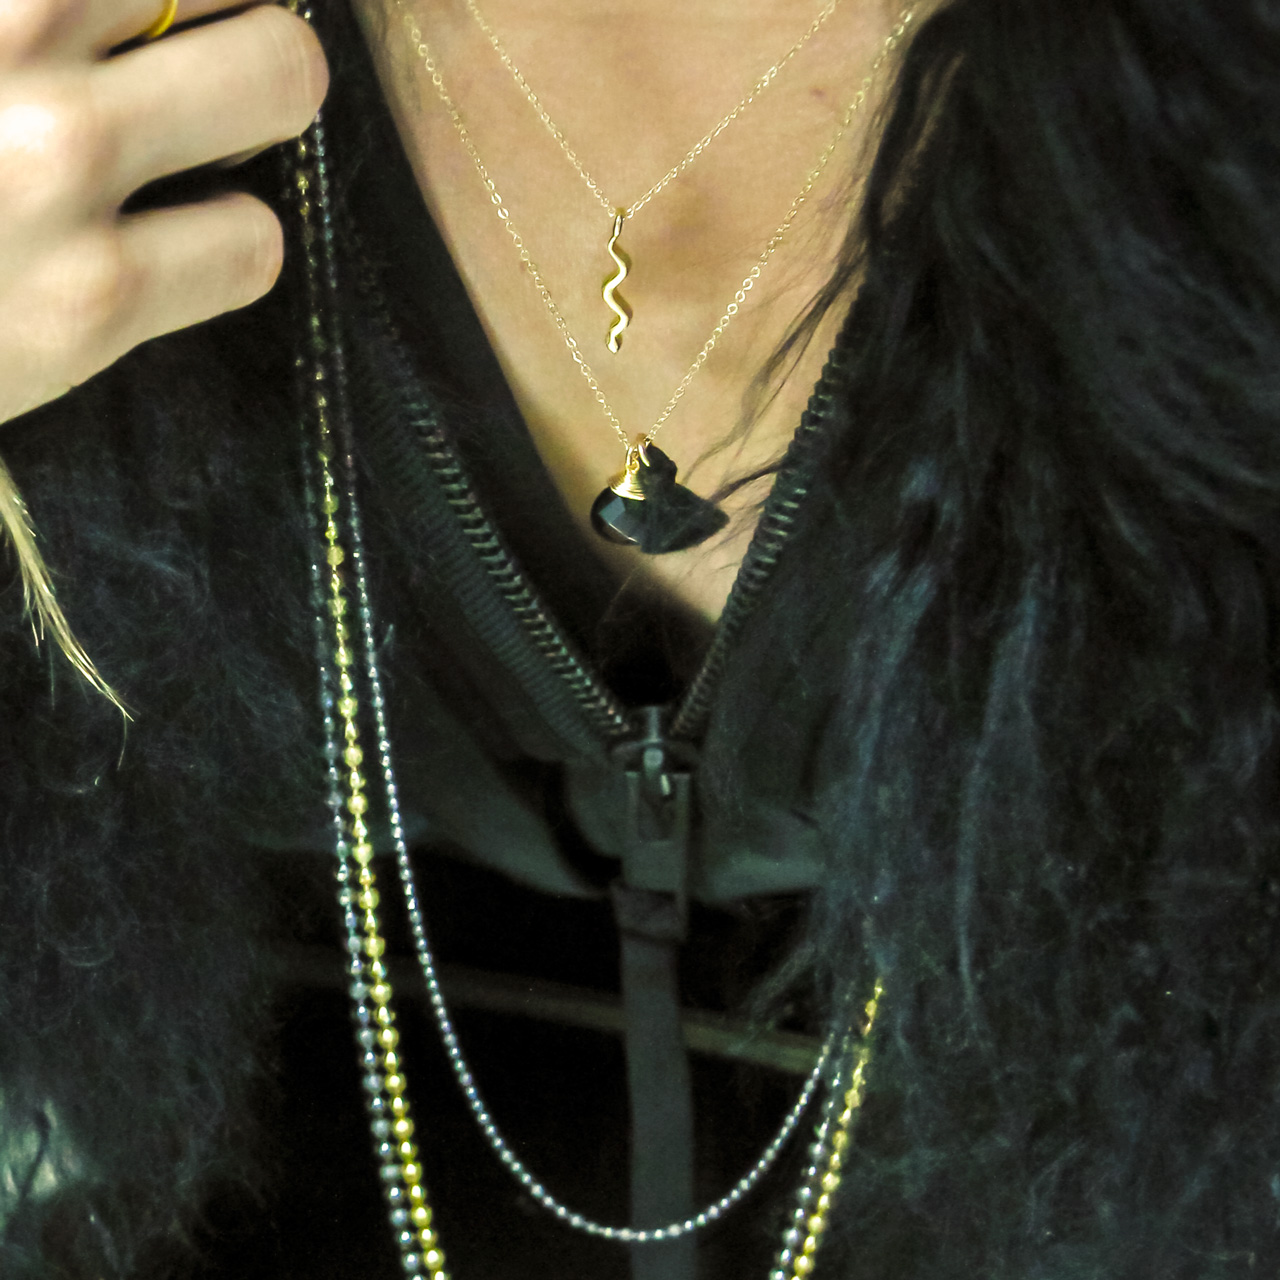
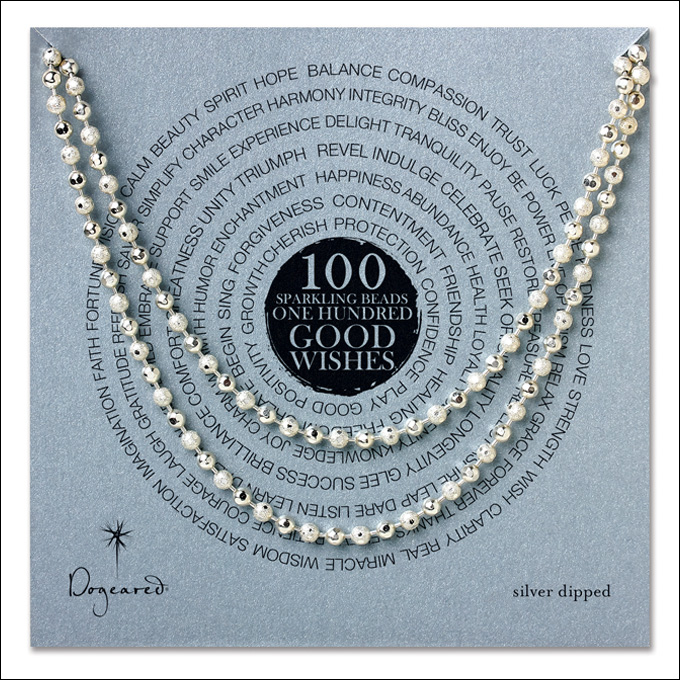
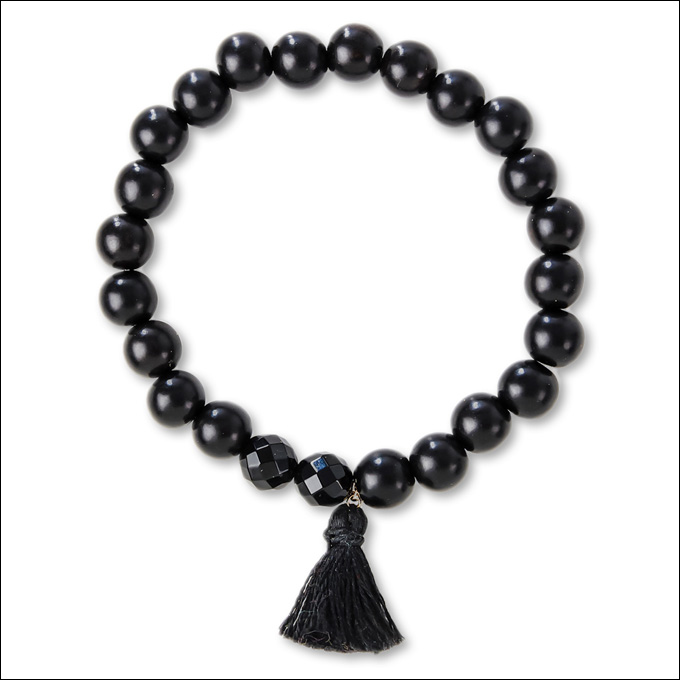
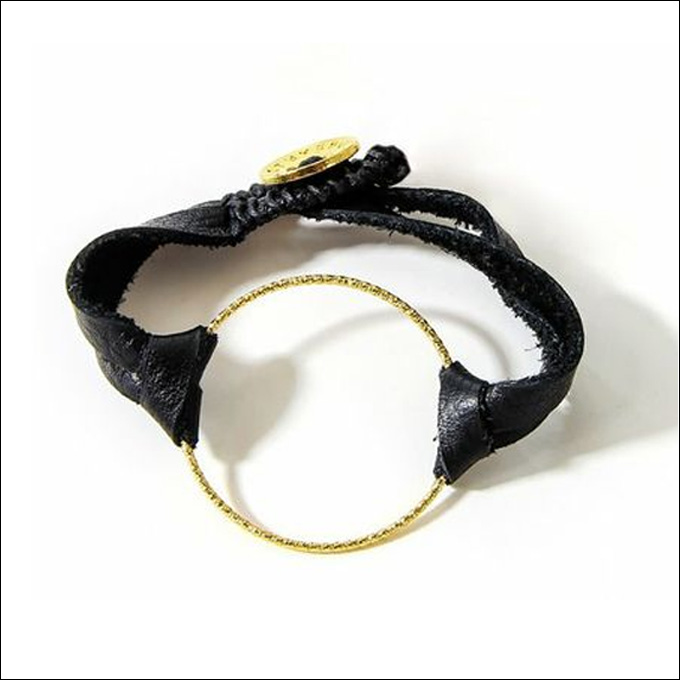
We’re getting Halloween-ready this week at Dogeared (big party on Friday!) so we put together some of our spooky seasonal favorites. Whether you plan on dressing up or not, edge up your look with spikes, spears, leather and black pearls!
We’re getting Halloween-ready this week at Dogeared (big party on Friday!) so we put together some of our spooky seasonal favorites. Whether you plan on dressing up or not, edge up your look with spikes, spears, leather and black pearls!
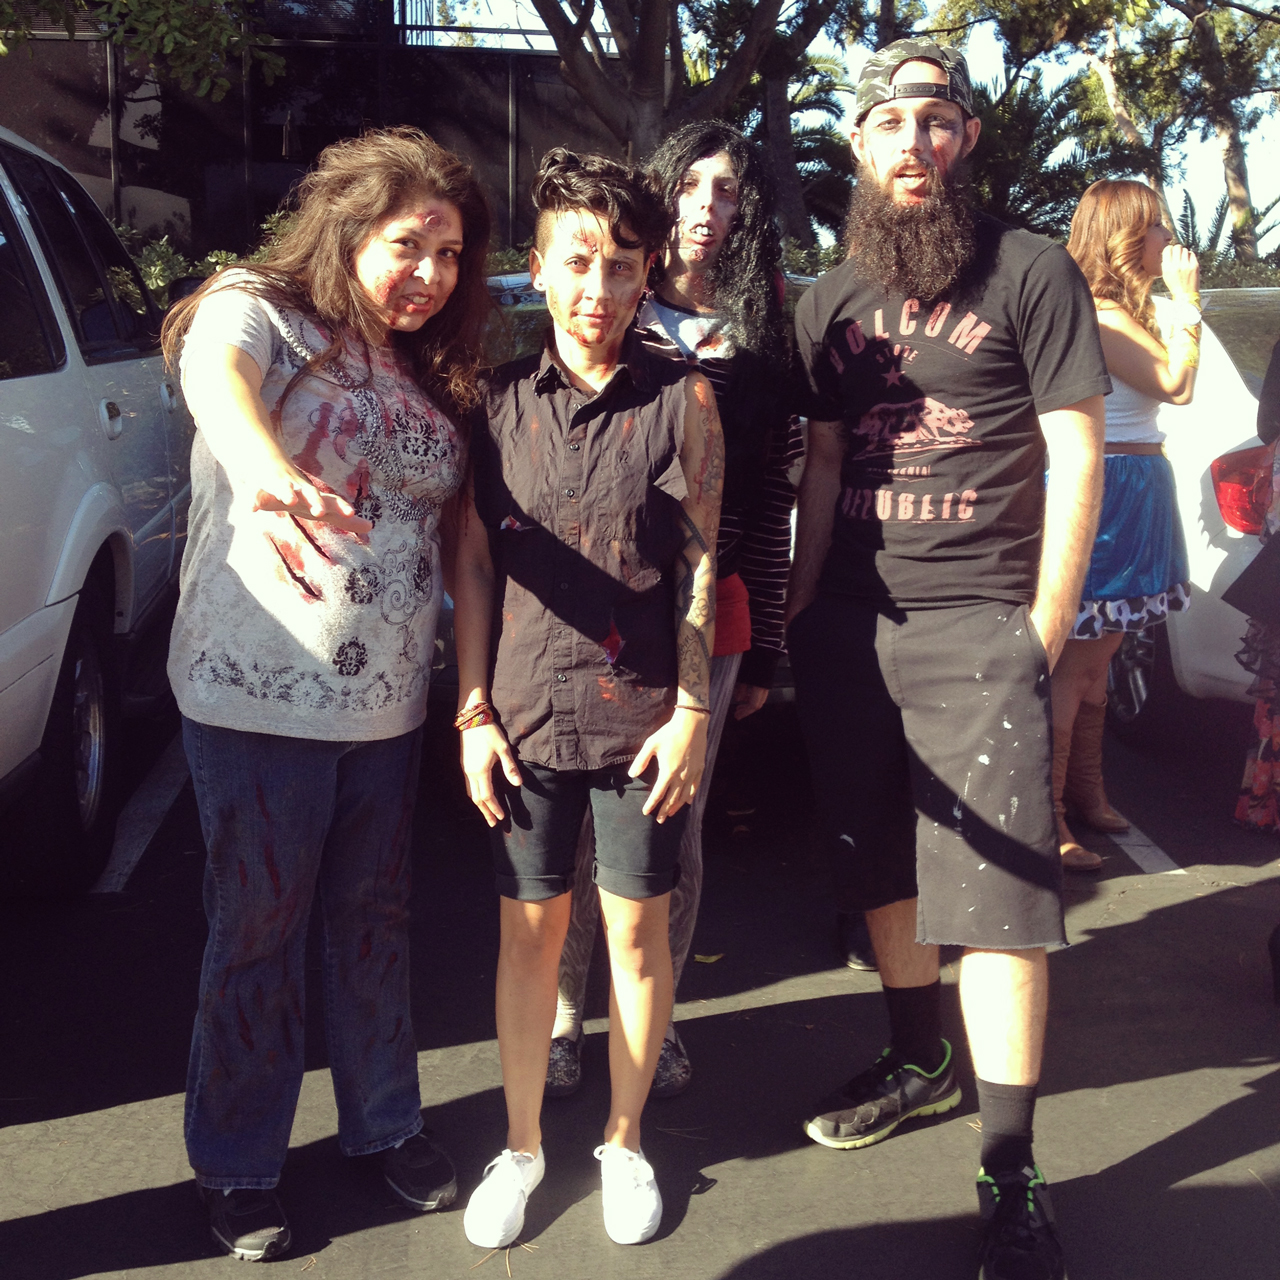
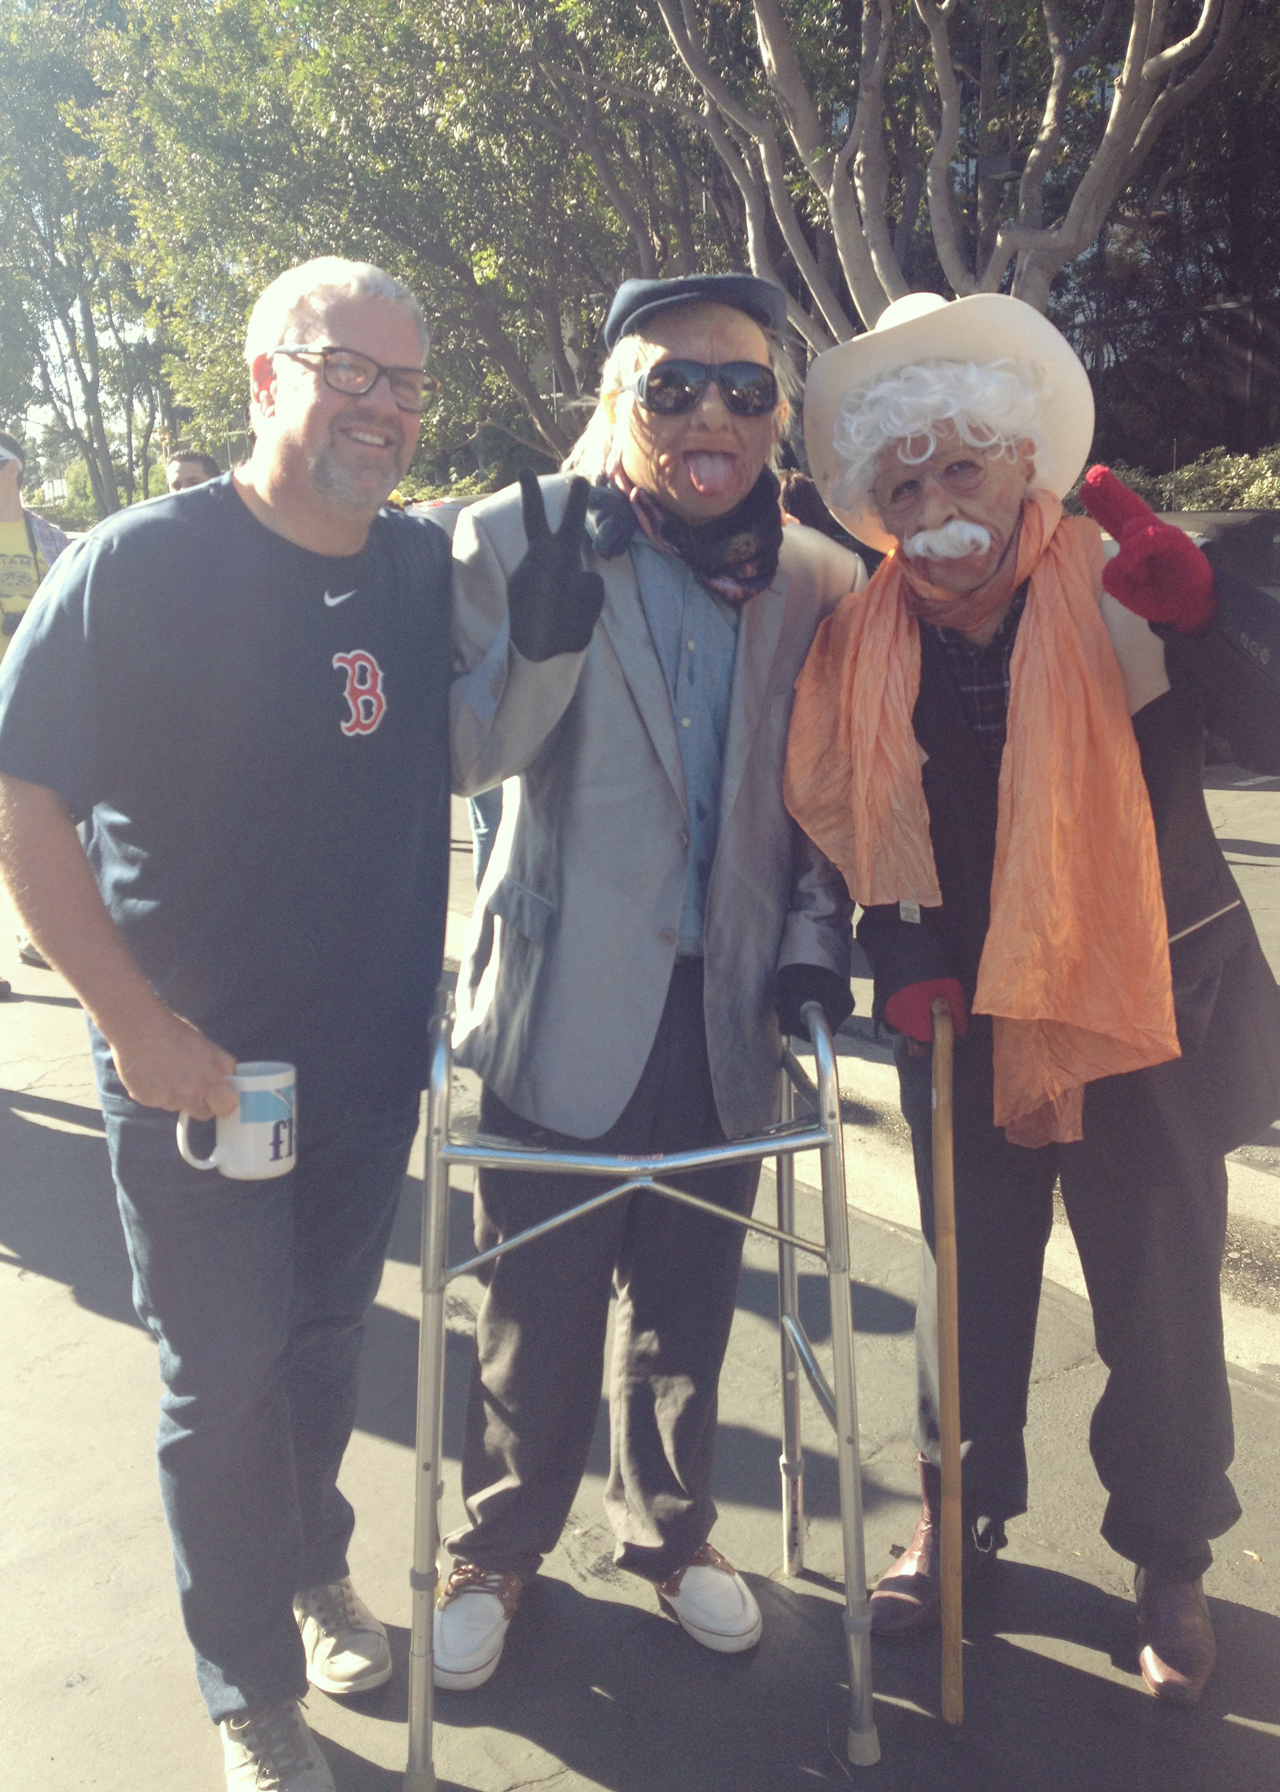
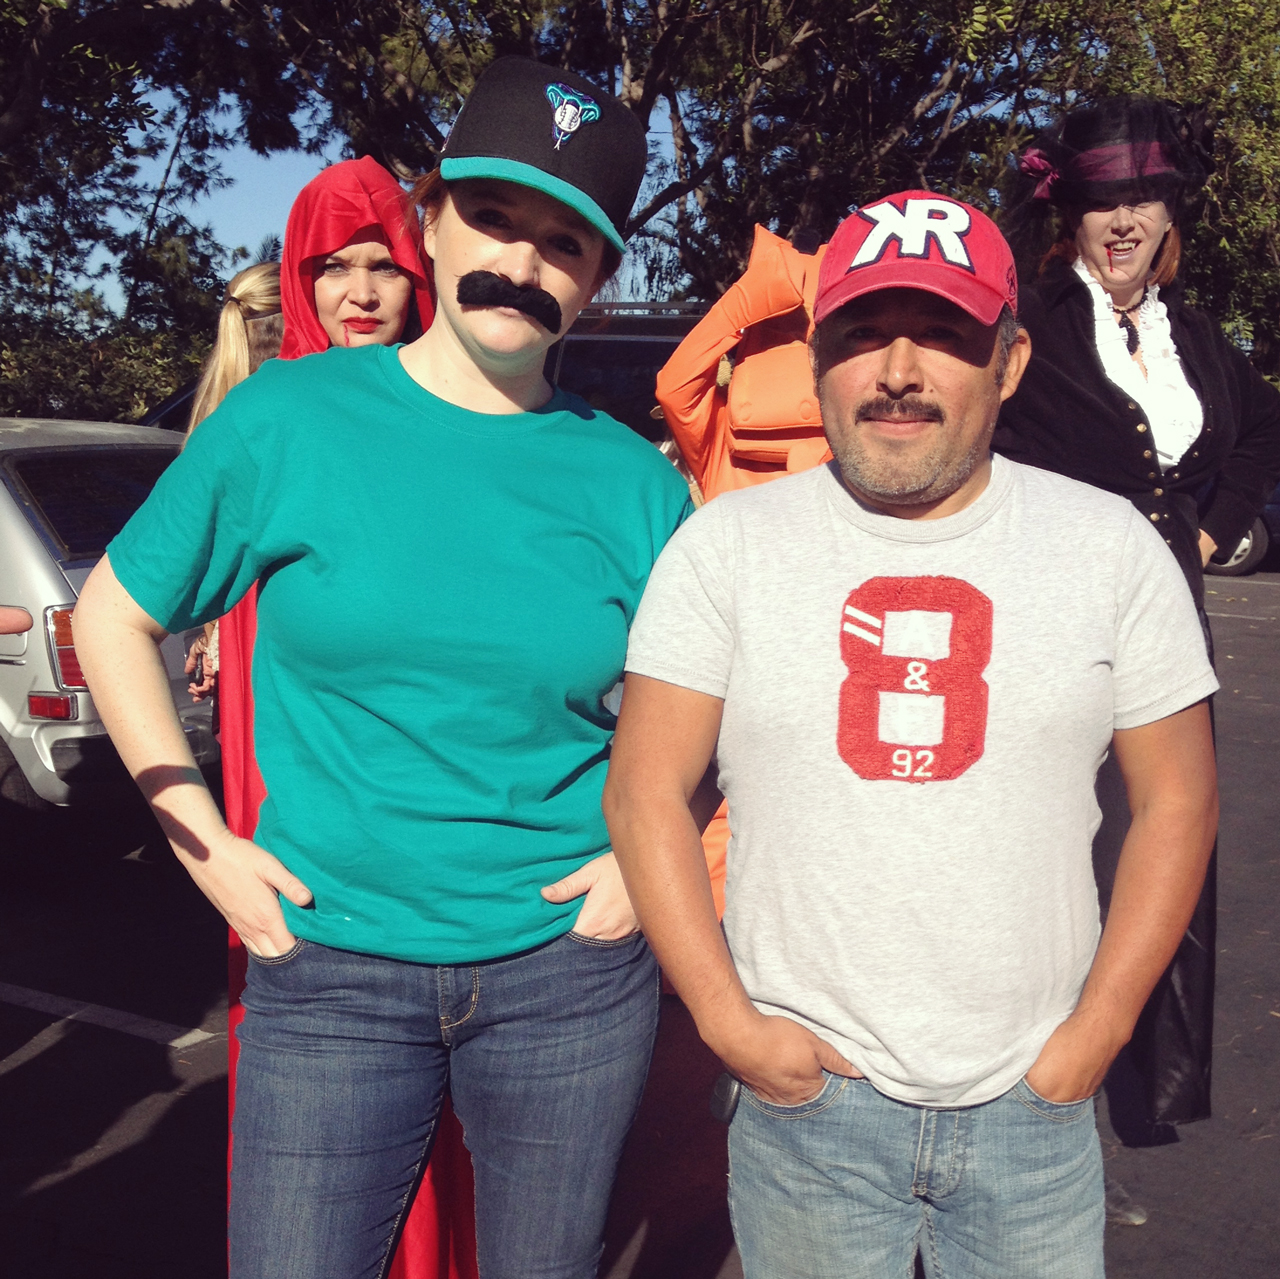
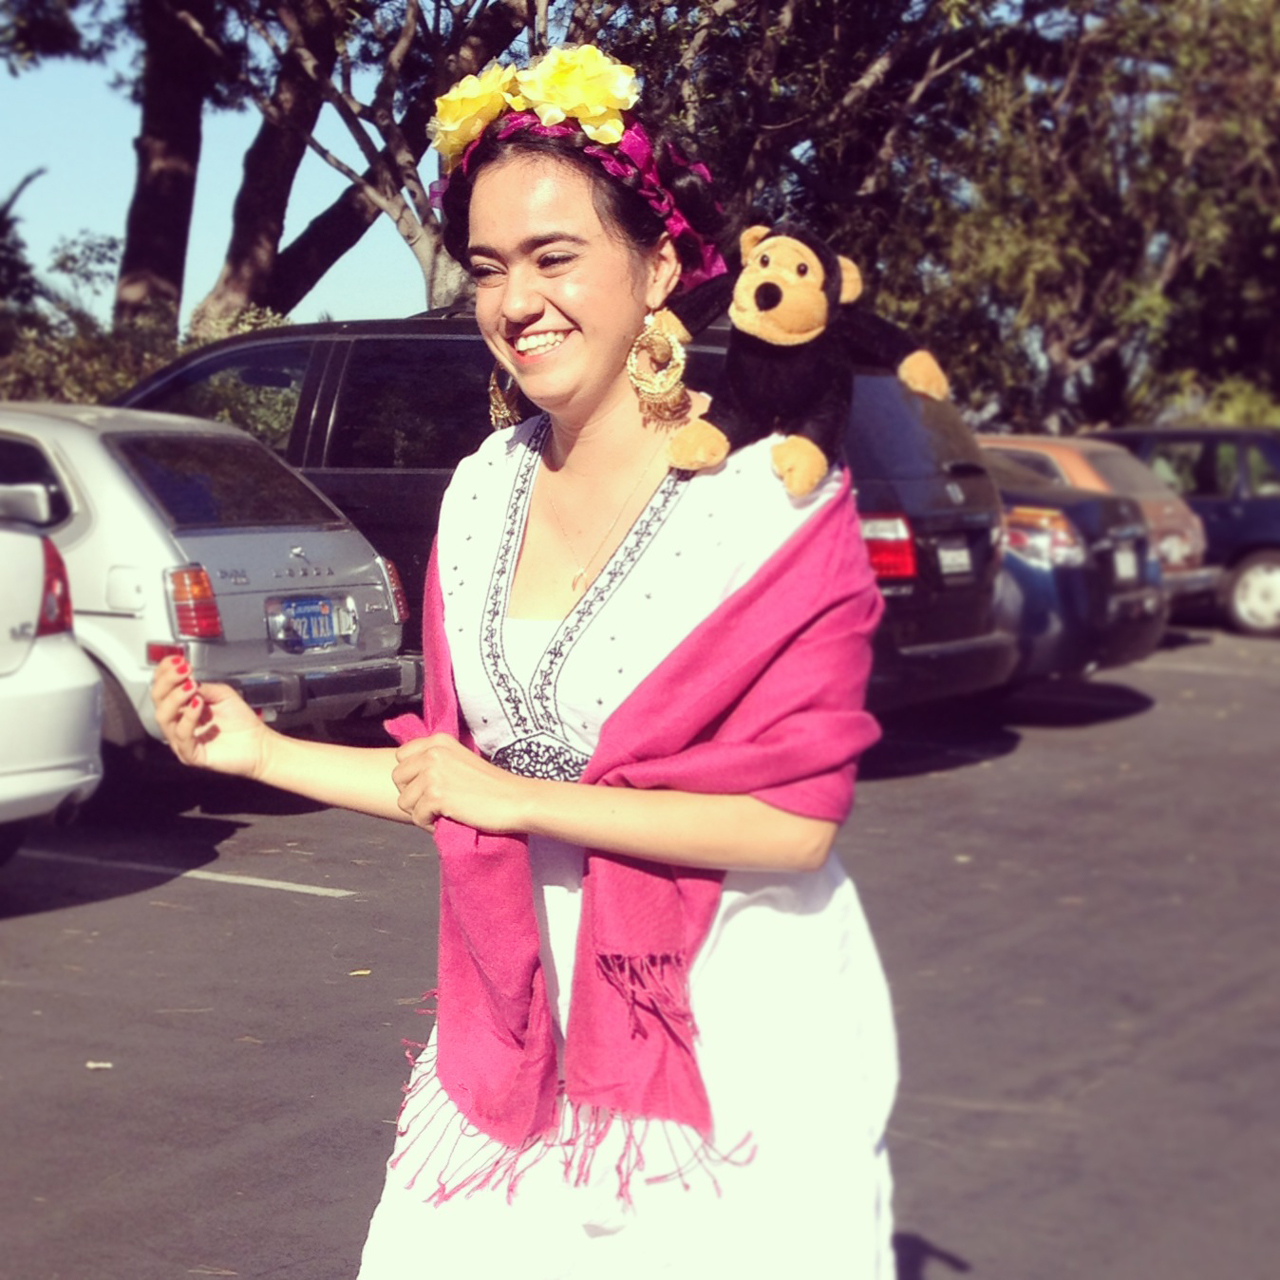
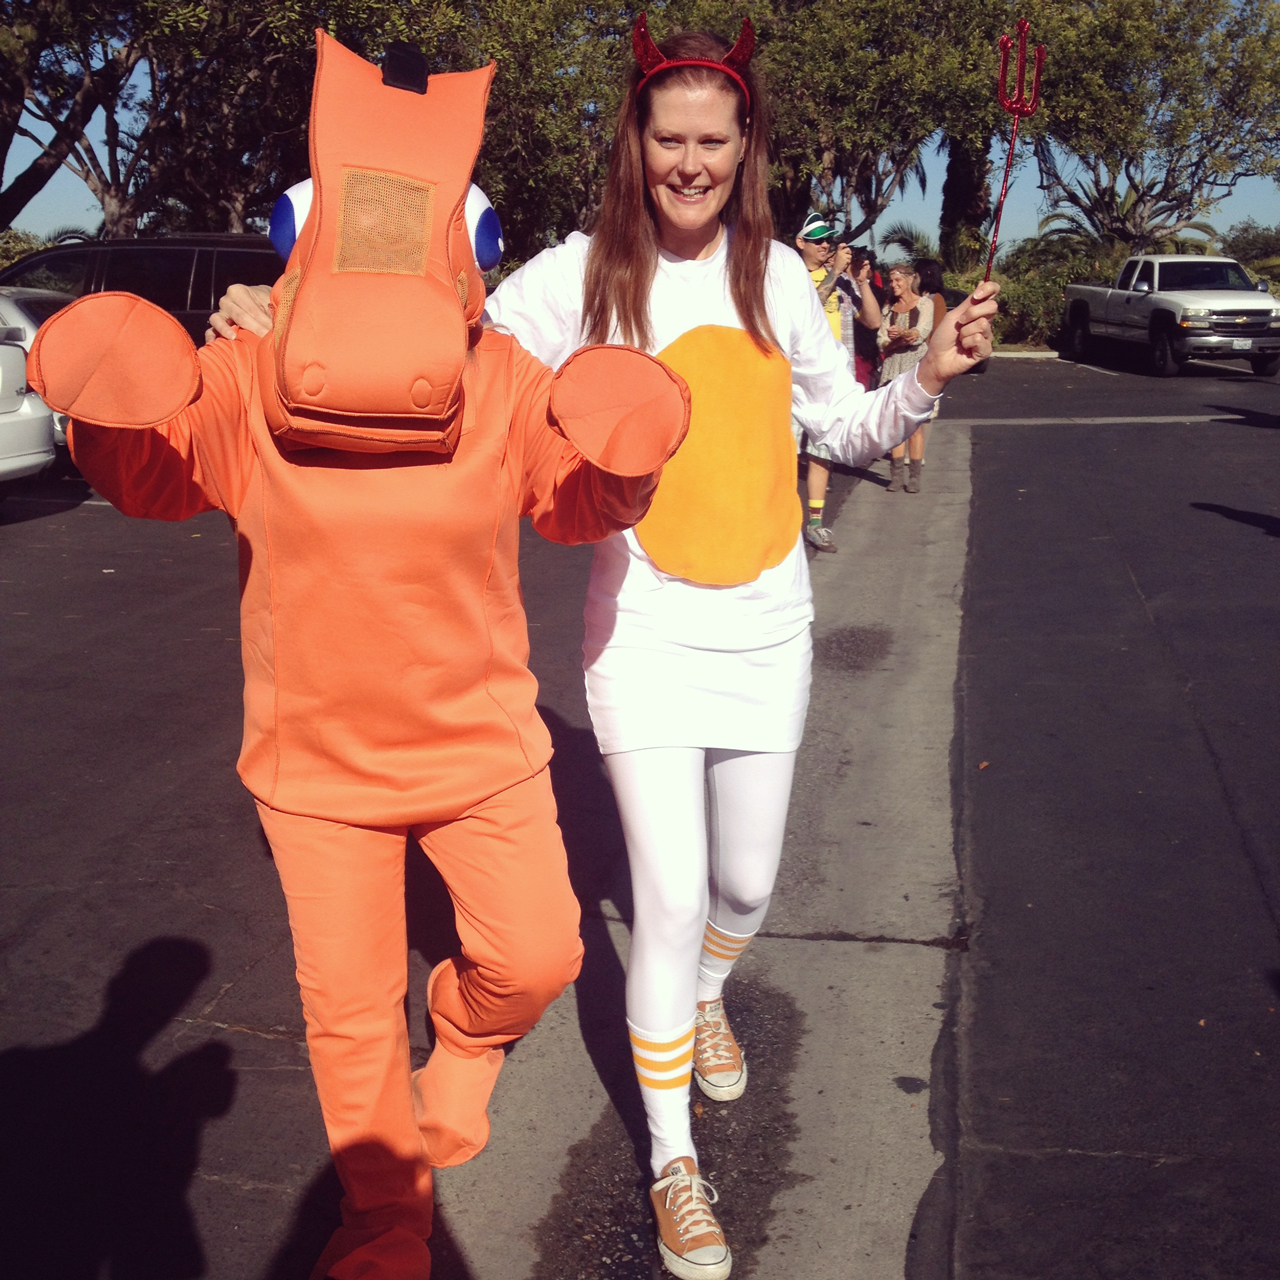
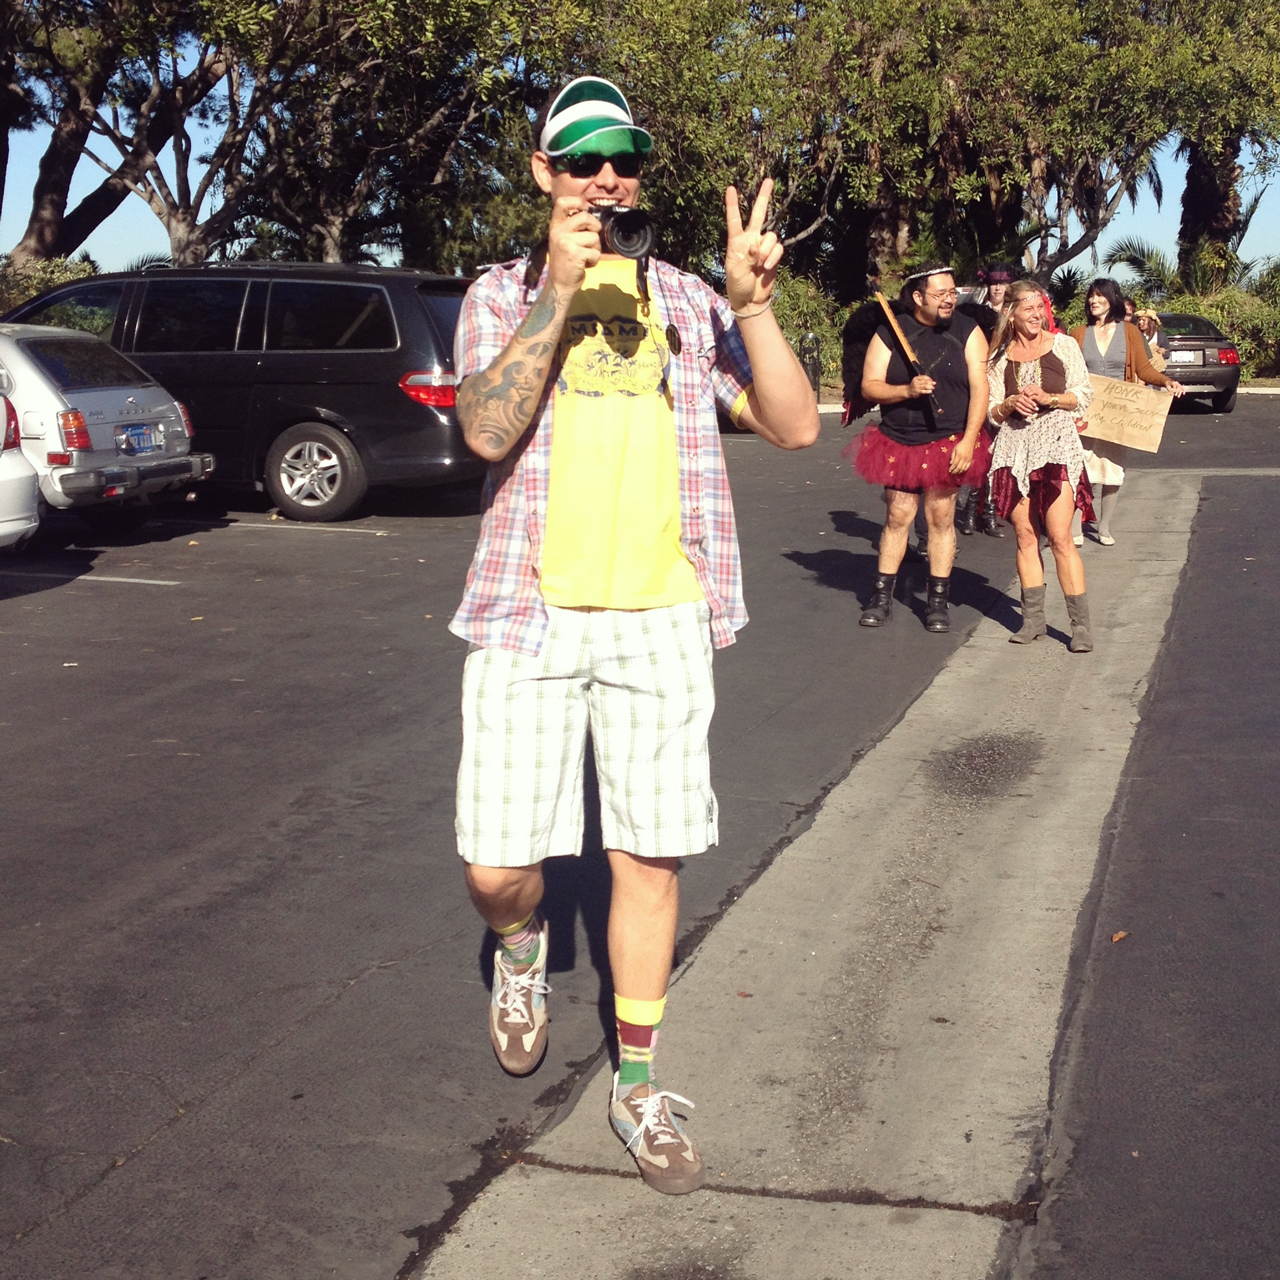
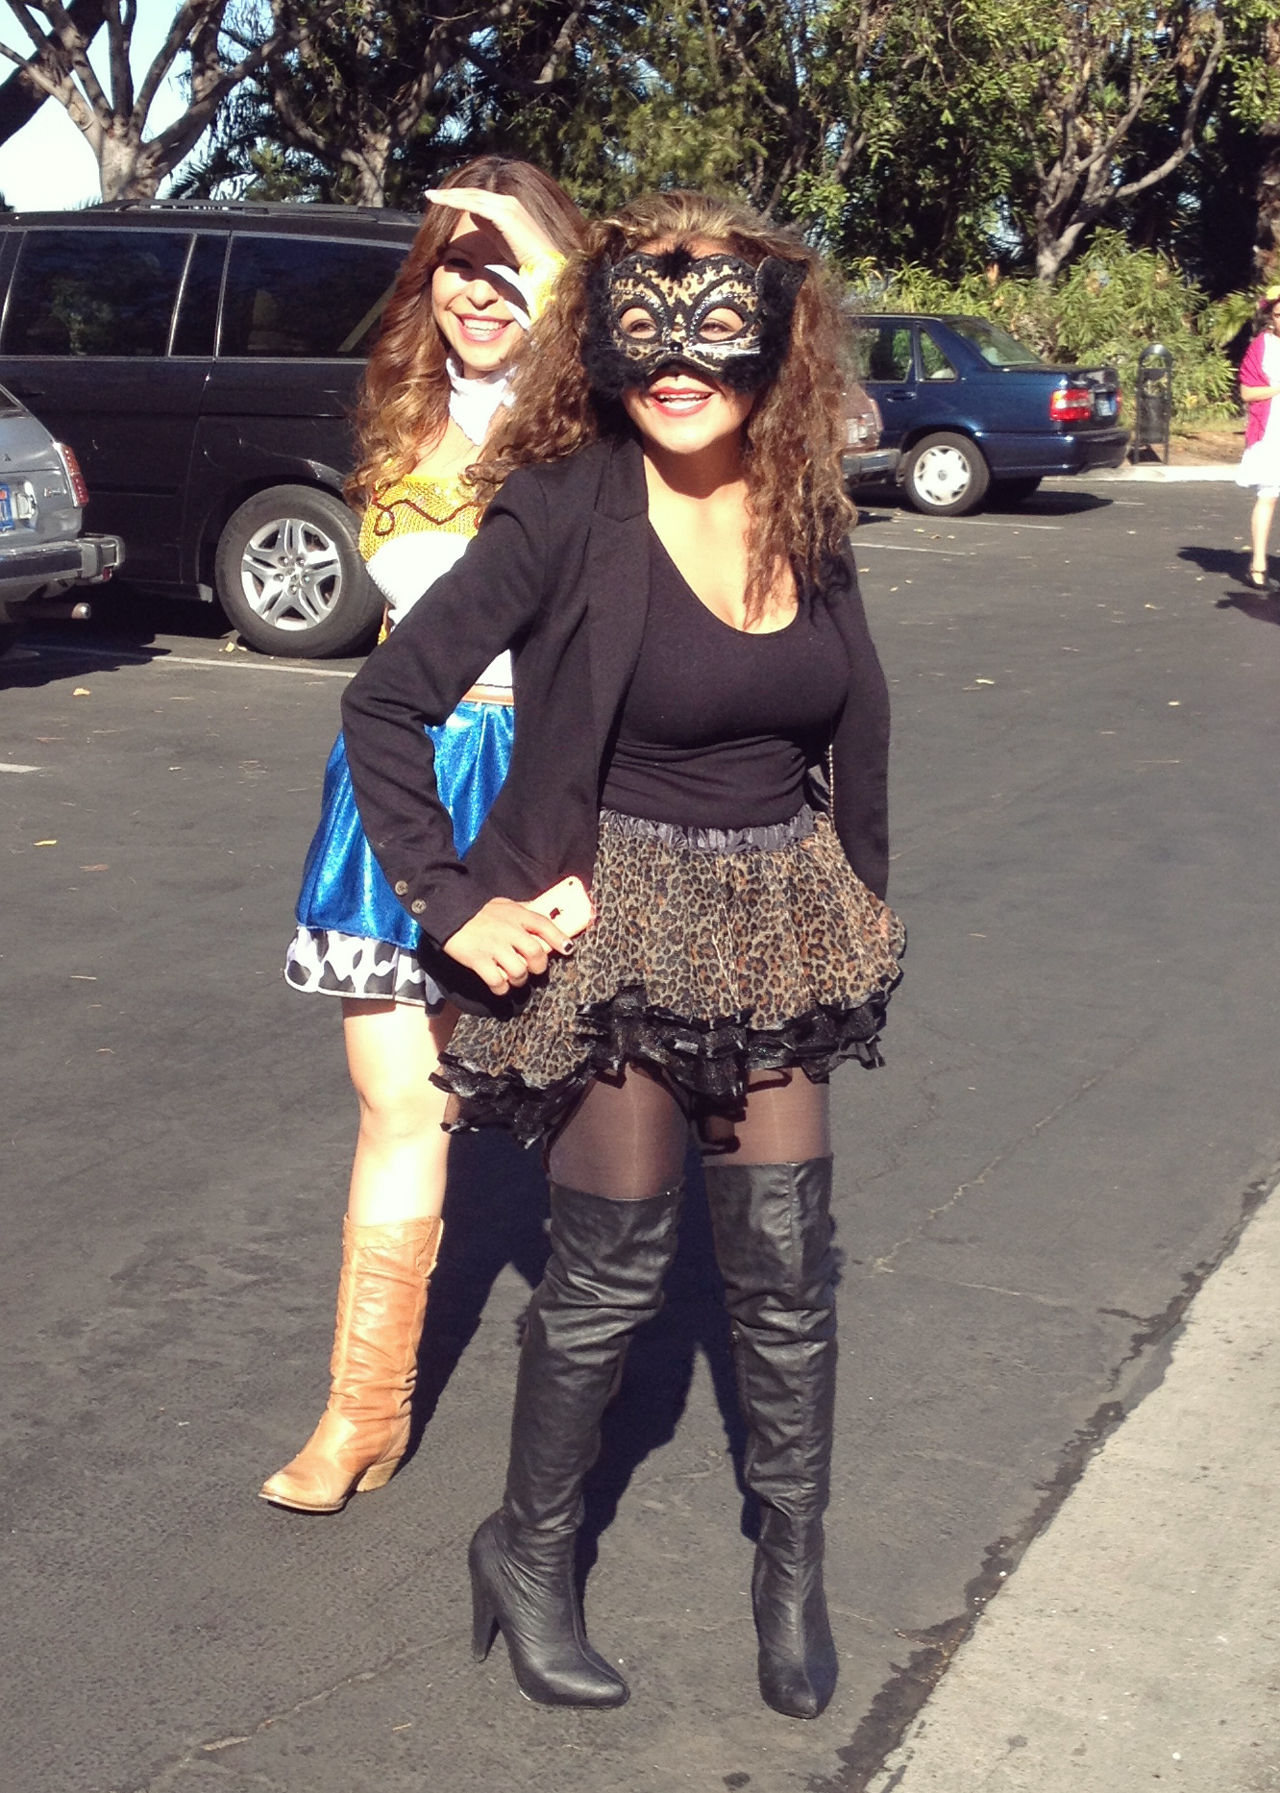
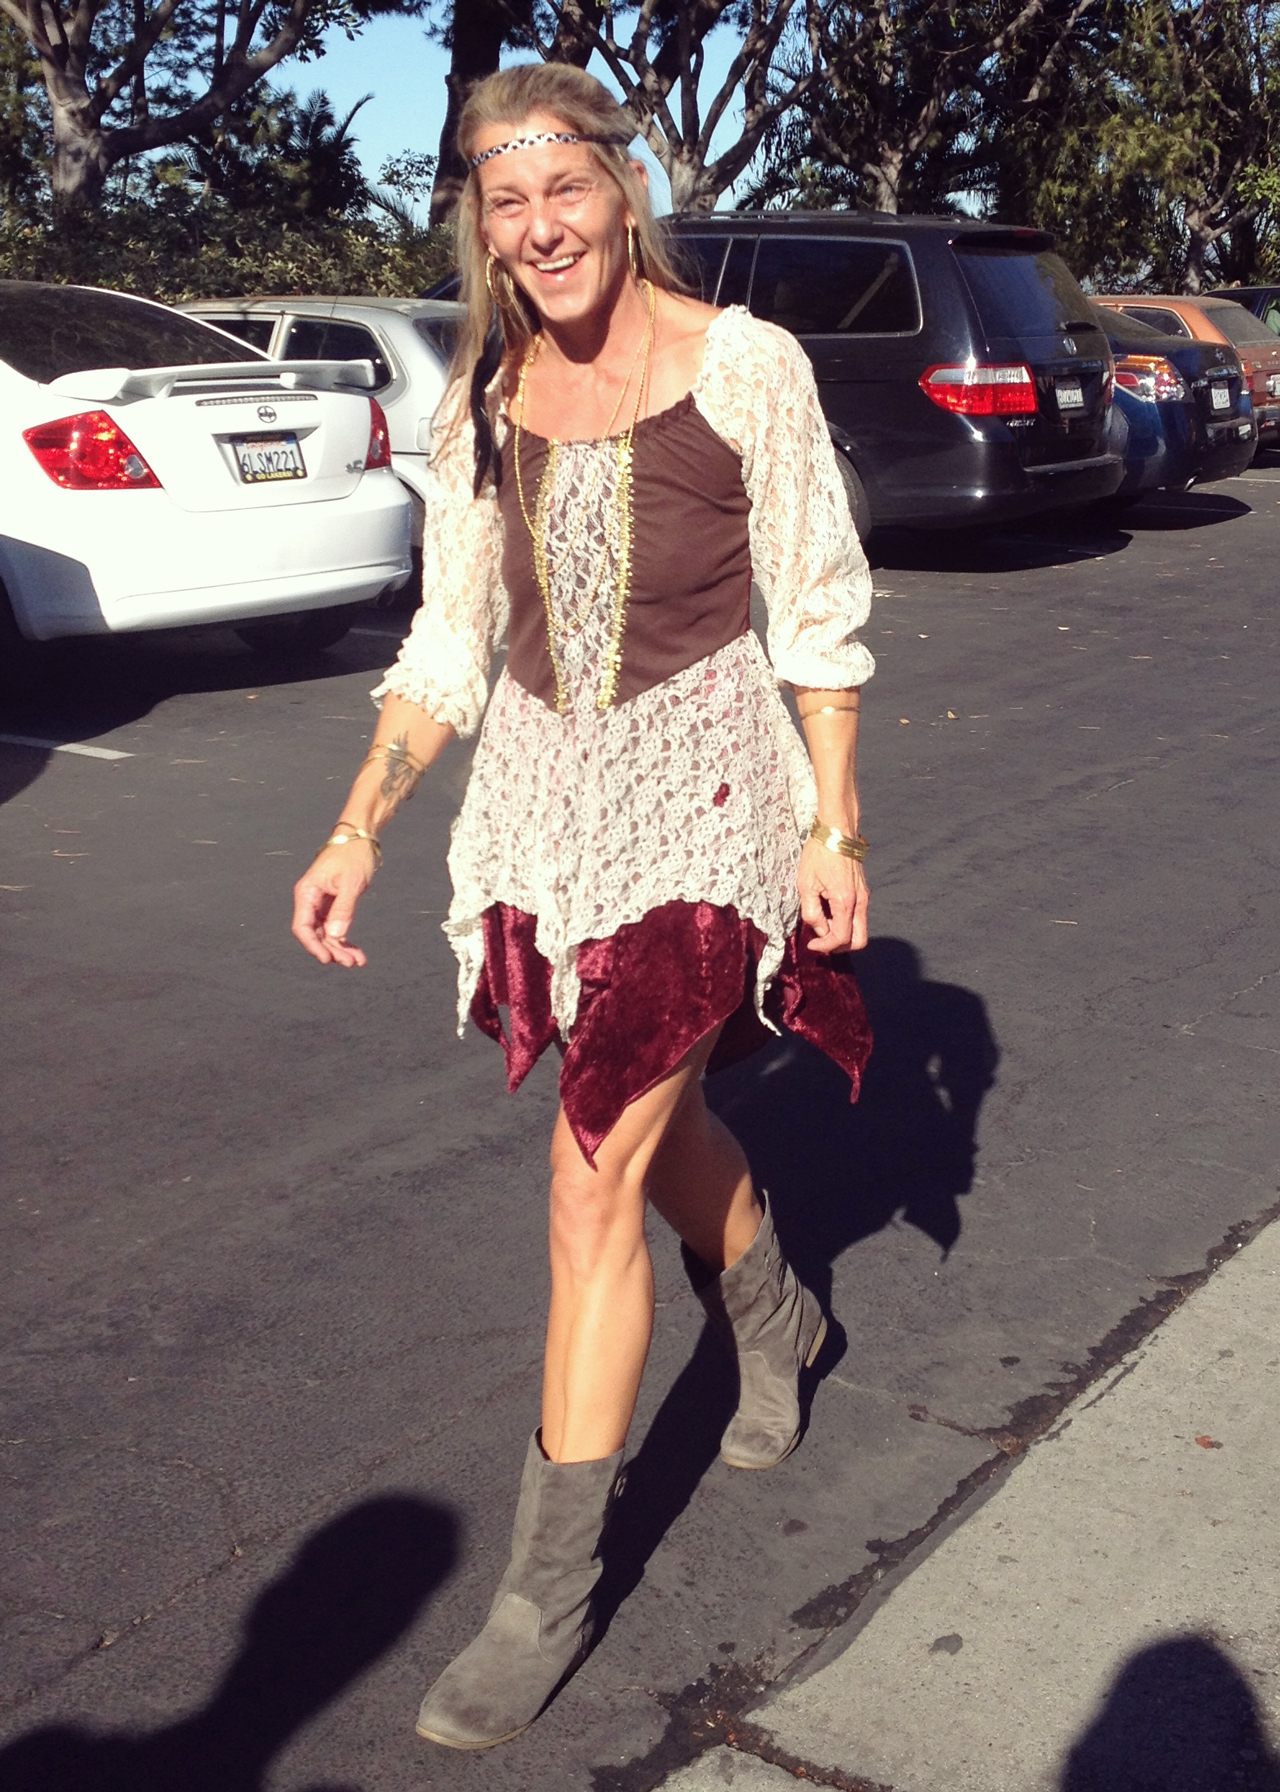
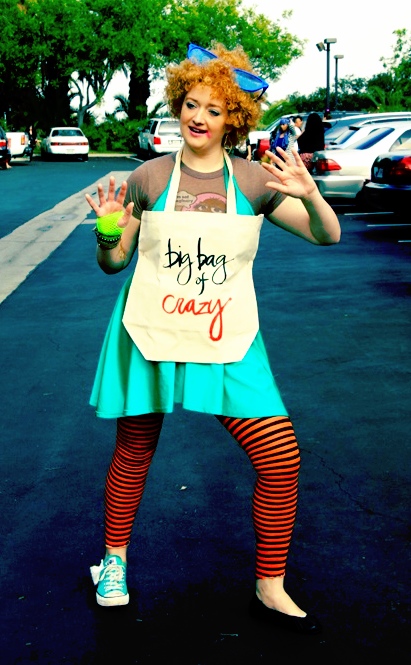
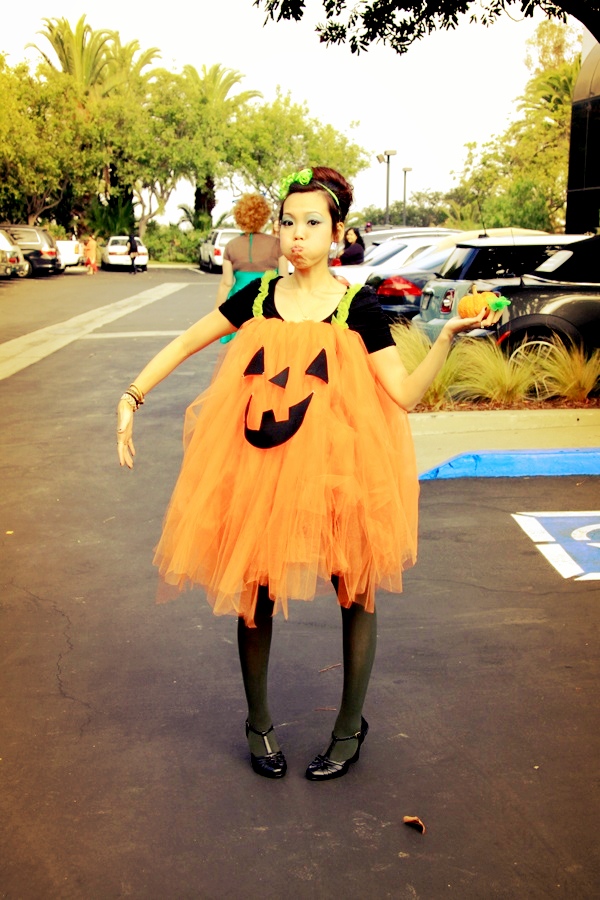
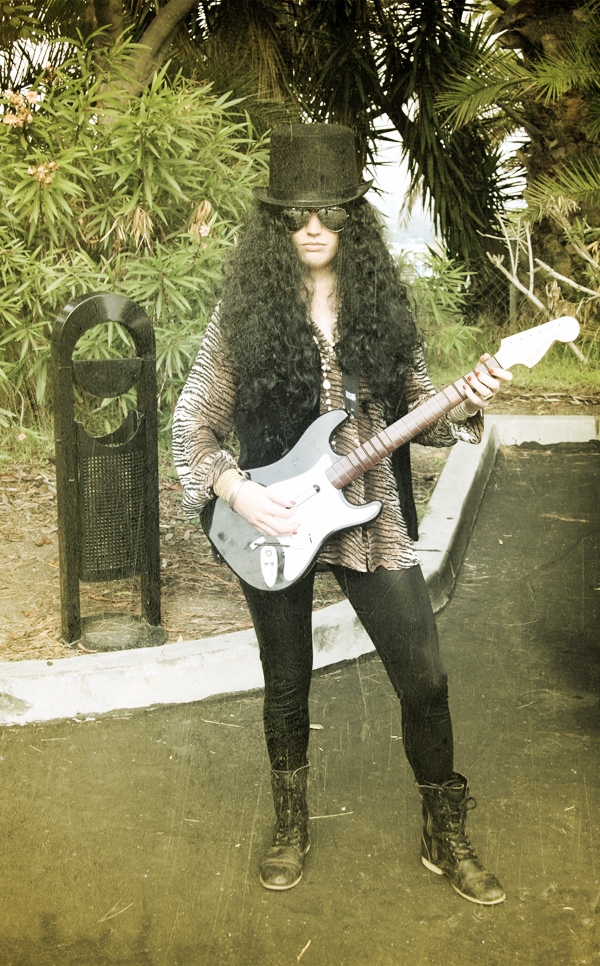
At Dogeared, we love to get into the holiday spirit! Check out our staff dressed up for our annual Halloween Parade + some hilarious video!

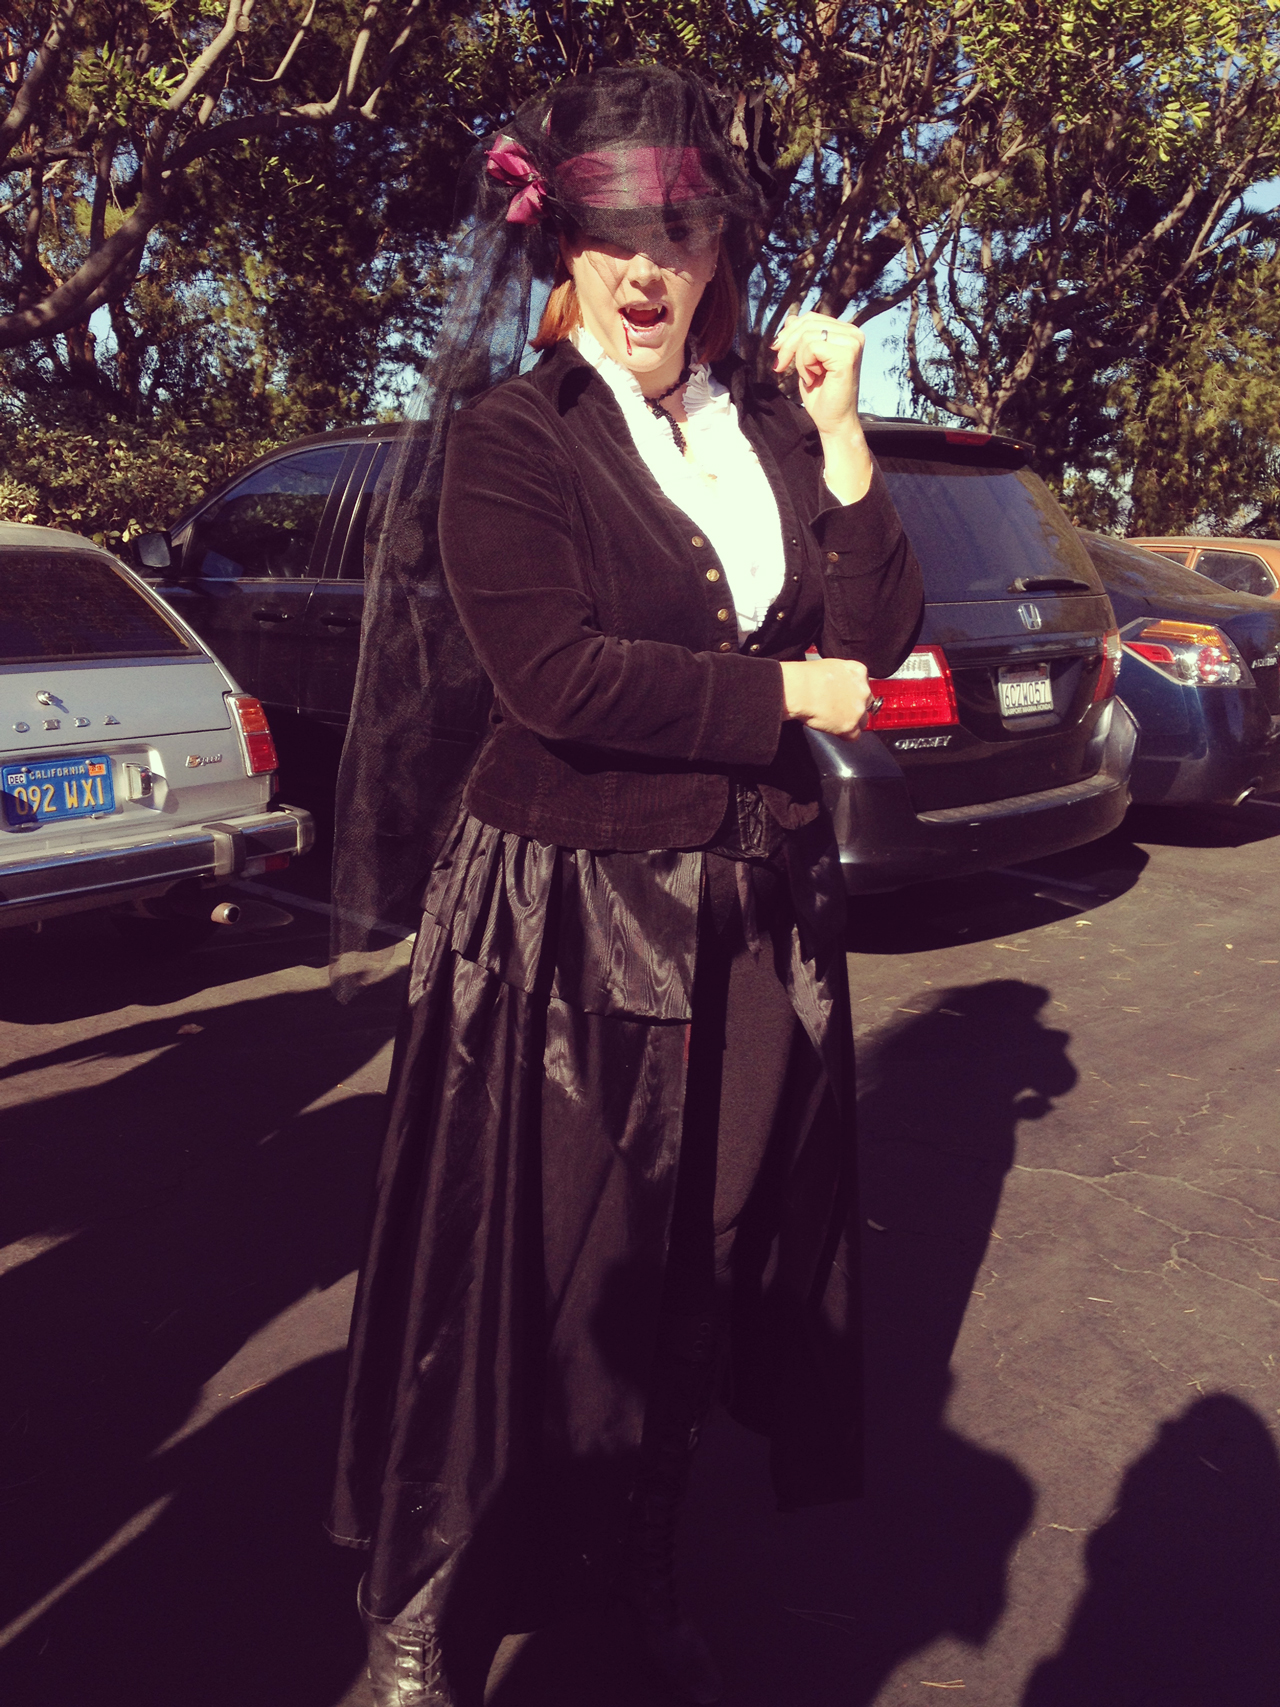
Dogeared’s very own (Sparkle) Karma Angel!


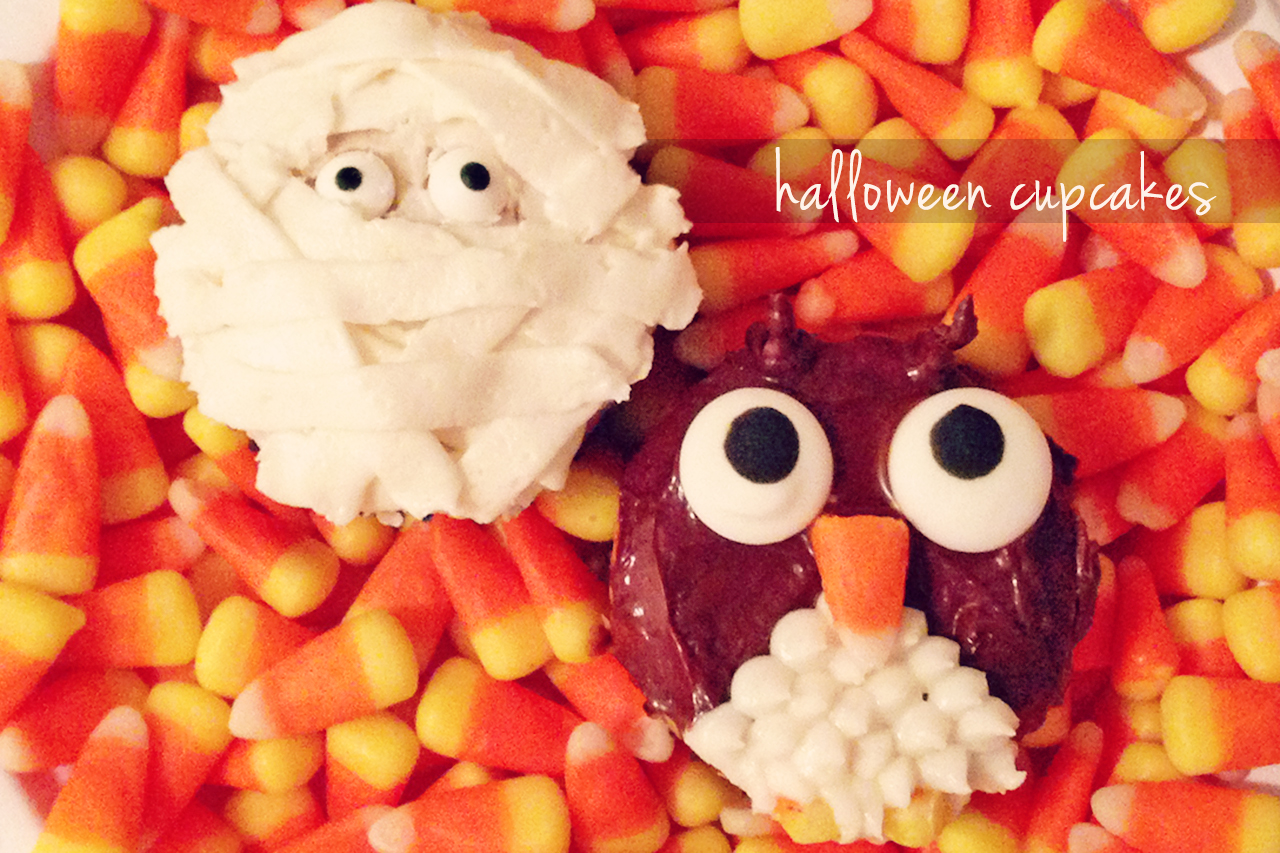
We promised you more Halloween treats, and we’re so excited to share these adorable cupcakes by Dear Liza’s! Having a Halloween party? Thankfully she put together some easy-to-follow instructions for us all to try:
I know making cupcakes from scratch can be a little time consuming, so for these fun Halloween cupcakes I would suggest a box mix. My favorite is Betty Crocker “Yellow Cake Mix” (not the one using butter).
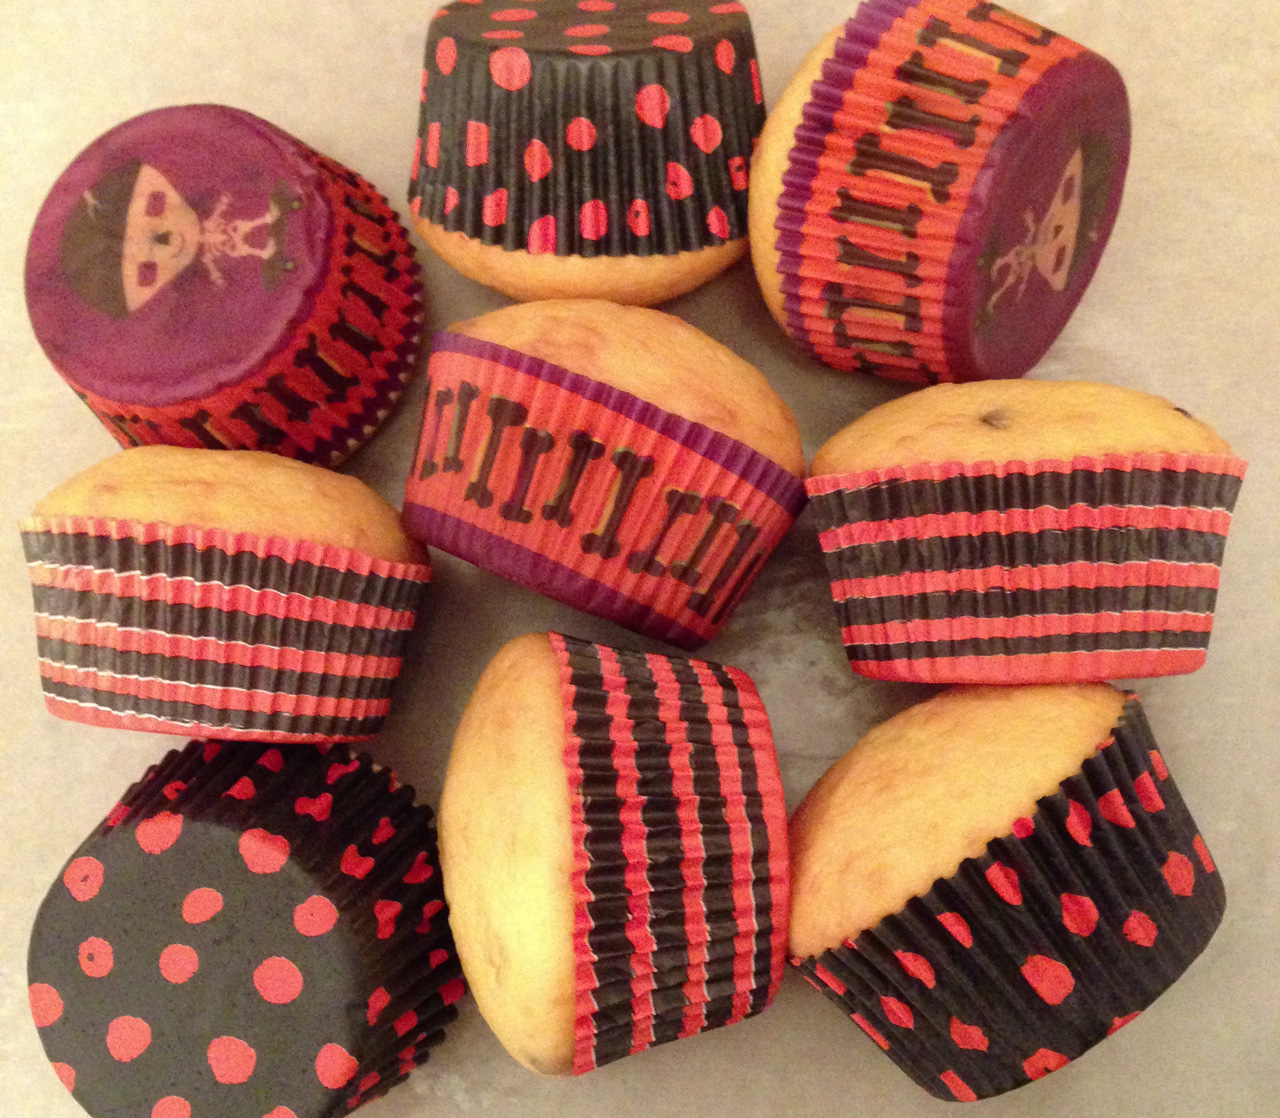
If you are feeling ambitious I highly recommend this recipe from Martha Stewart. I always add 1-2 cups of mini chocolate chips to my cupcakes. Any of these can be done in mini size as well. Store covered in the refrigerator to keep fresh.
I like to make my own vanilla buttercream frosting, but if you’d like you can use store-bought frosting. For homemade buttercream frosting recipe and instructions, scroll to the bottom of this post.
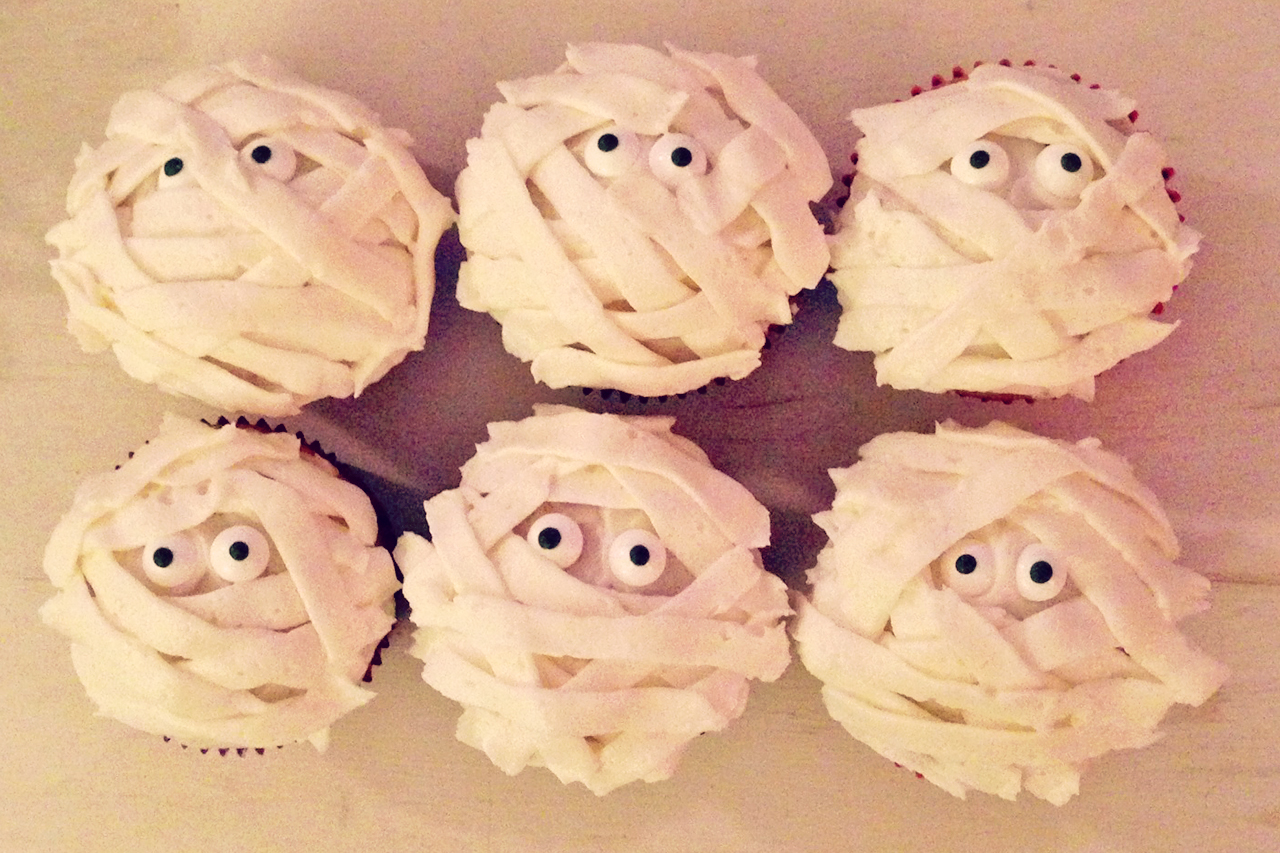
Mummy Cupcakes

Ingredients:
Cupcake liners
Candy eyes
Petal piping tip (Wilton #103/104) – you can find this tip at most grocery or crafting stores
Piping bag (can also use a Ziploc bag – drop tip into bottom corner and cut a small piece off the end of the bag)
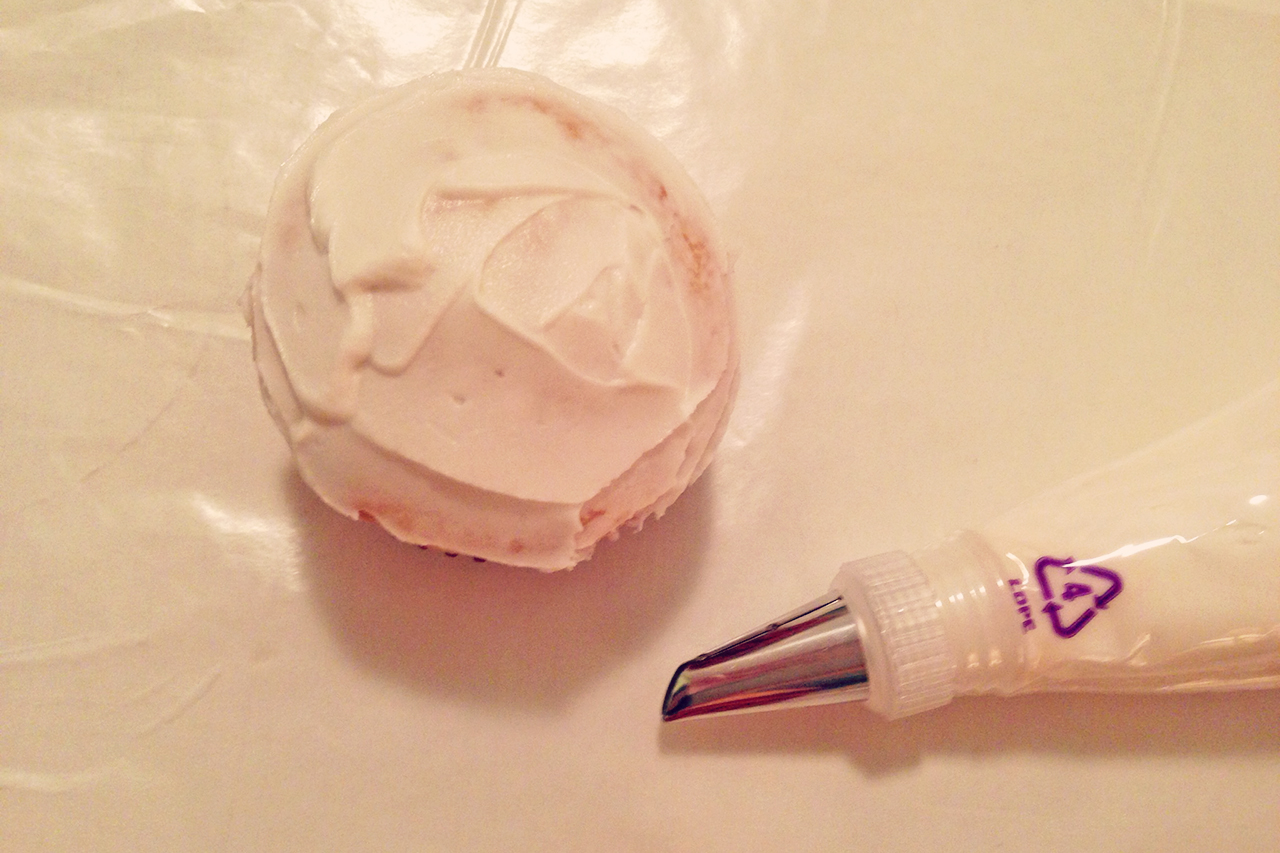
Using a butter knife or angled spatula, frost cupcakes with a thin layer of white buttercream frosting.

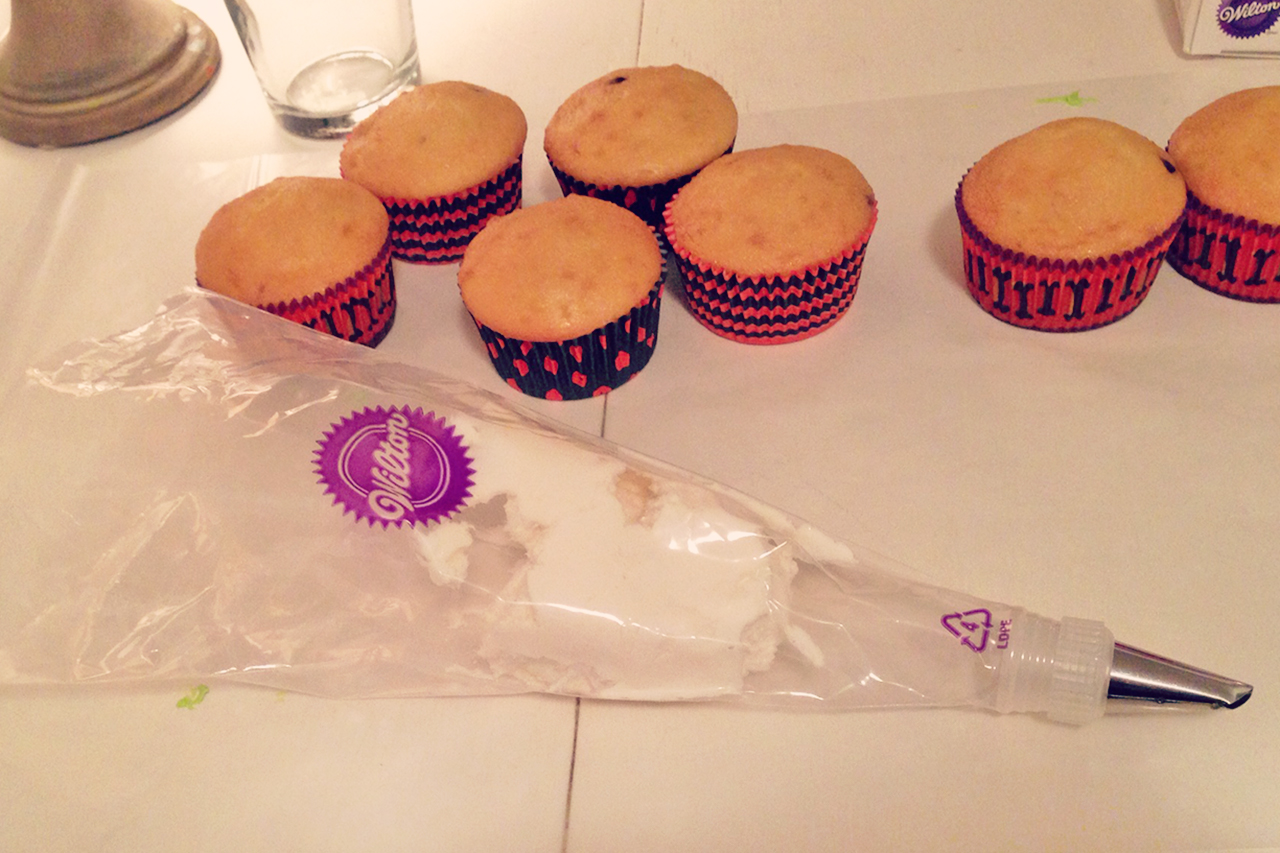
Drop the piping tip into piping bag and cut a small piece off the bottom, just enough for the narrow part of the tip to come out. Fill bag with frosting.
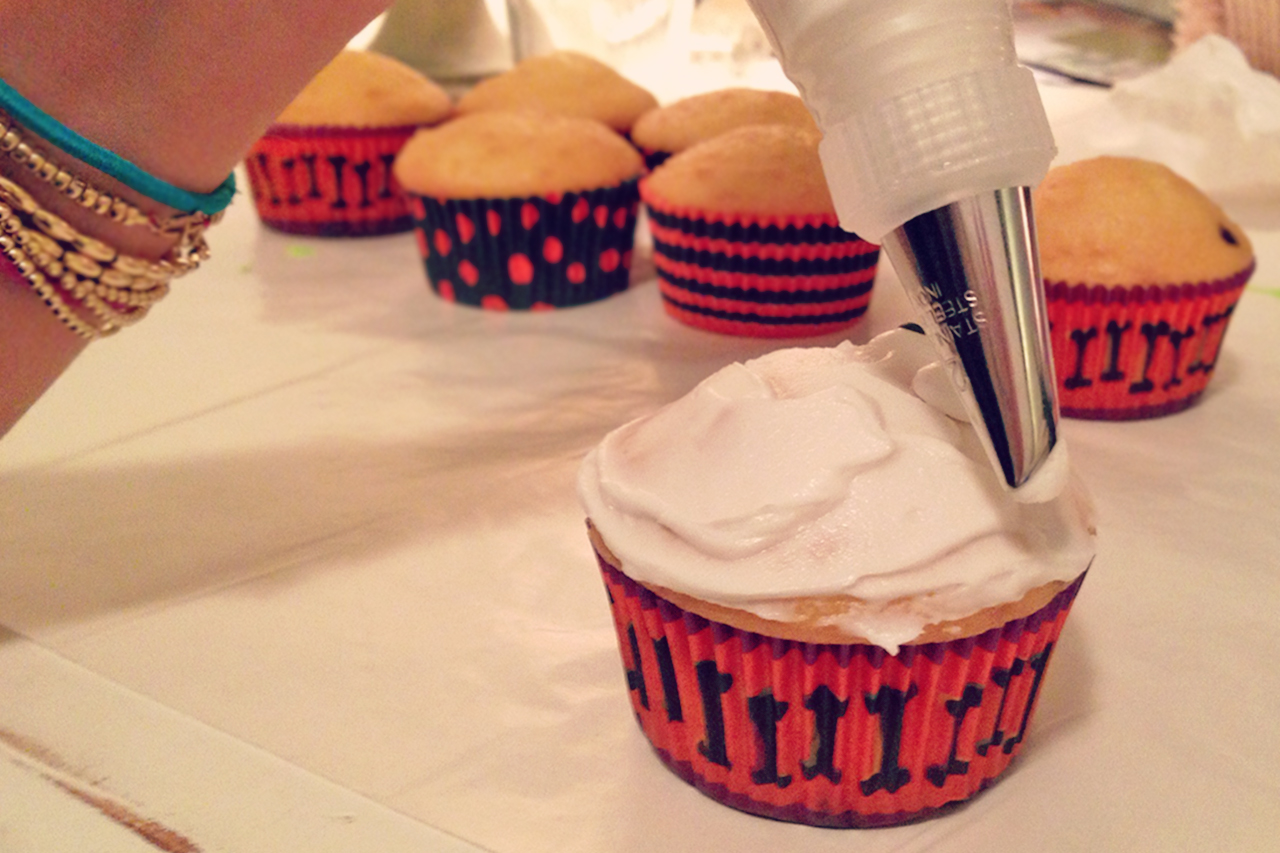
Place 2 candy eyes in the middle (frosting will act as glue). Using the piping bag, start on one side and lightly squeeze to create a strip across the cupcake.

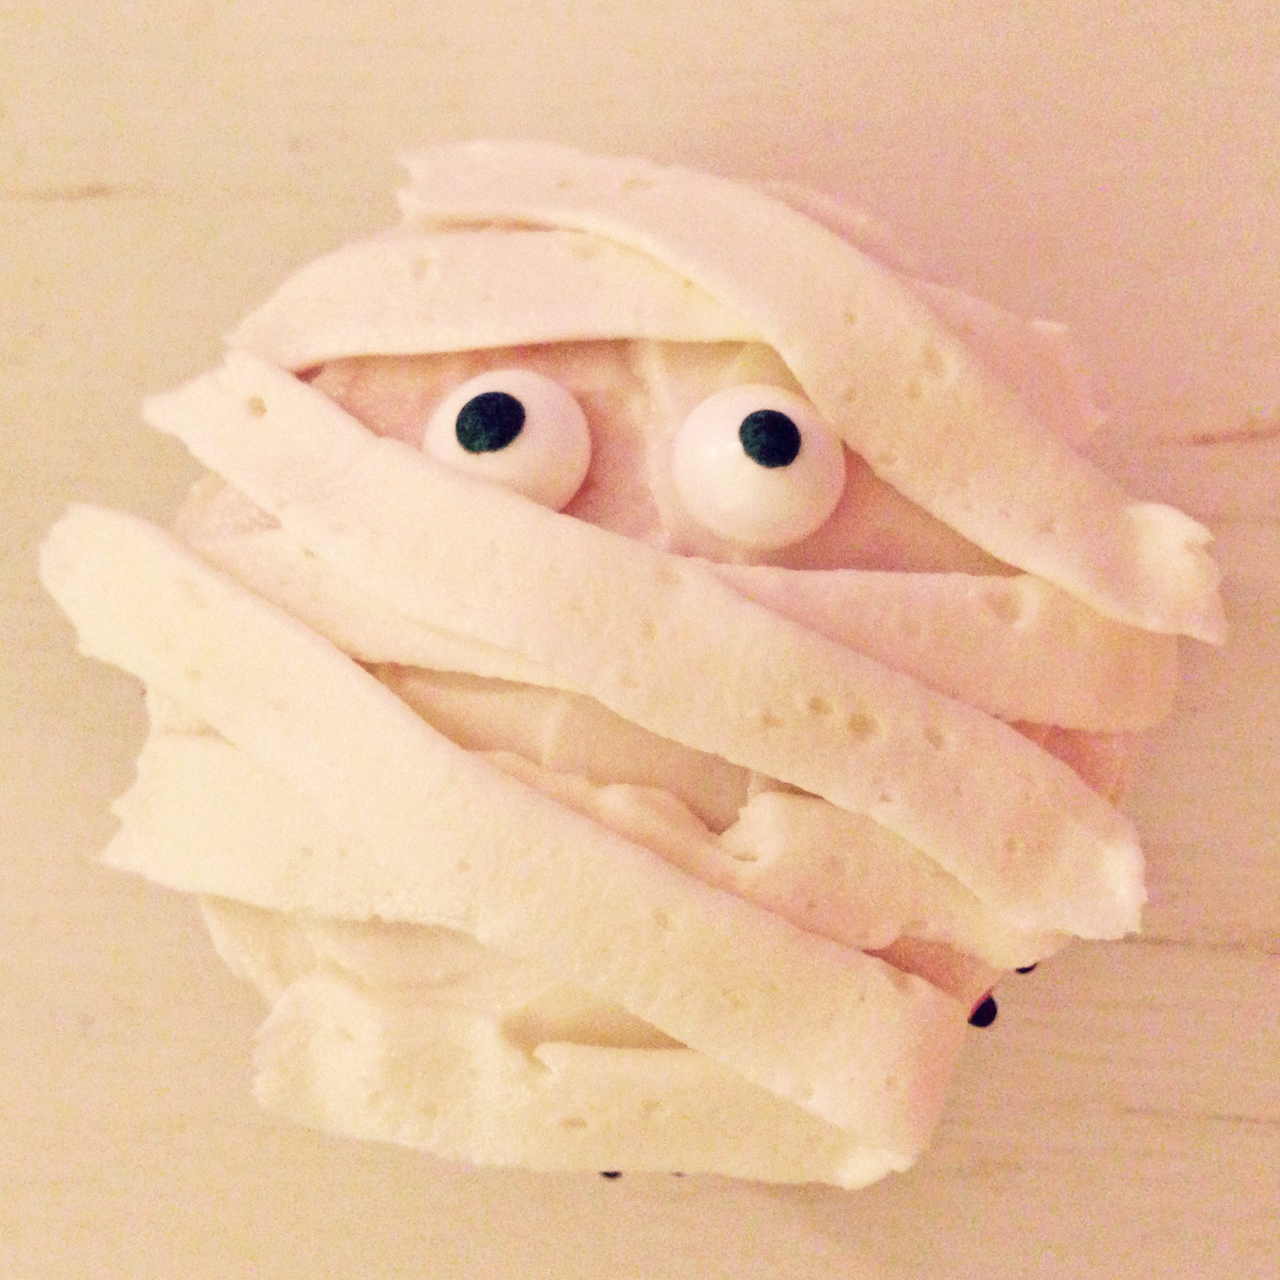
Crisscross and overlap strips until entire cupcake is covered. Plate and serve!
Owl Cupcakes

Ingredients:
Cupcake liners
Giant candy eyes
Candy corns
Vanilla frosting Chocolate frosting
Piping bags (can also use a Ziploc bag by cutting small piece off the bottom corner) Instructions
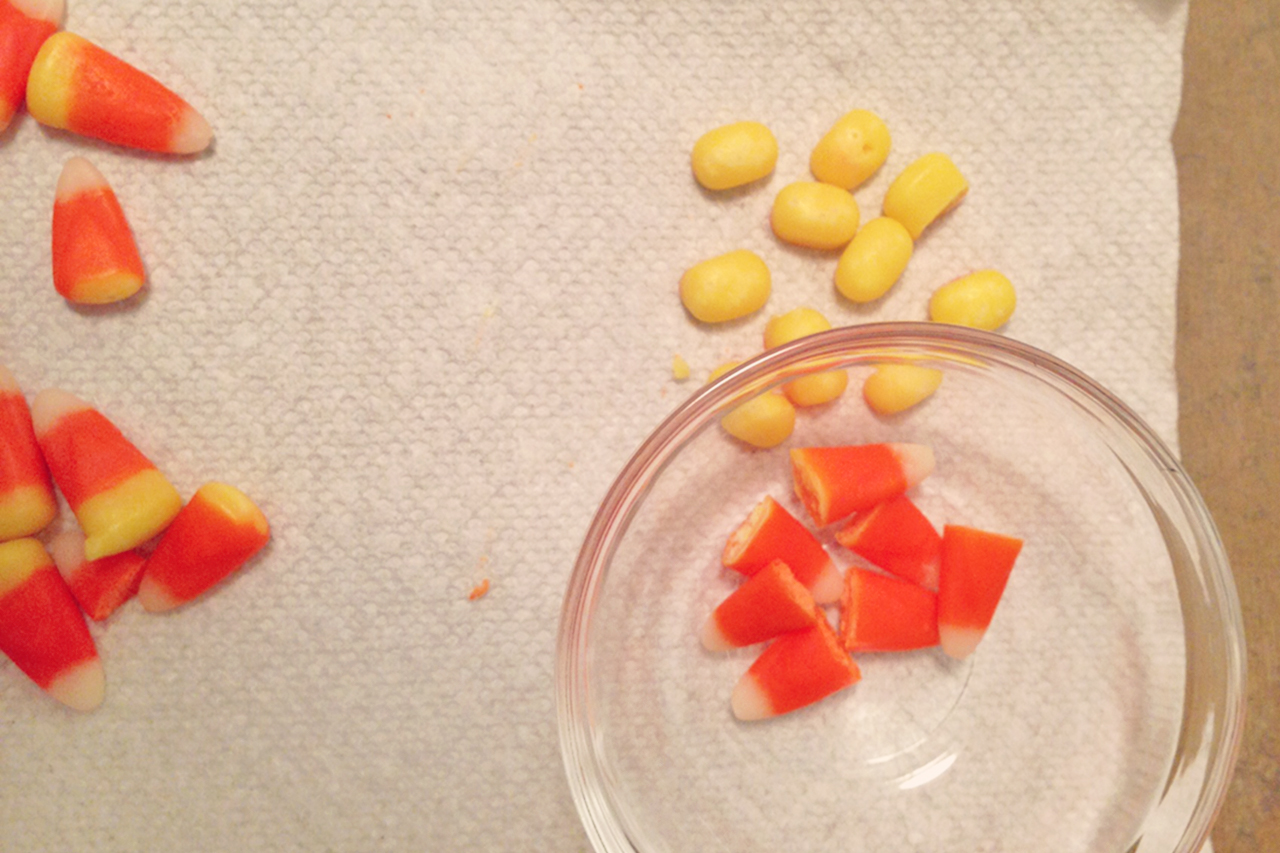
Start by preparing the candy corns to use for the beak and feet. Cut the yellow base off of the candy corn to create the beak. Split the remaining yellow piece in half to create 2 feet. Set aside in a small bowl for later.
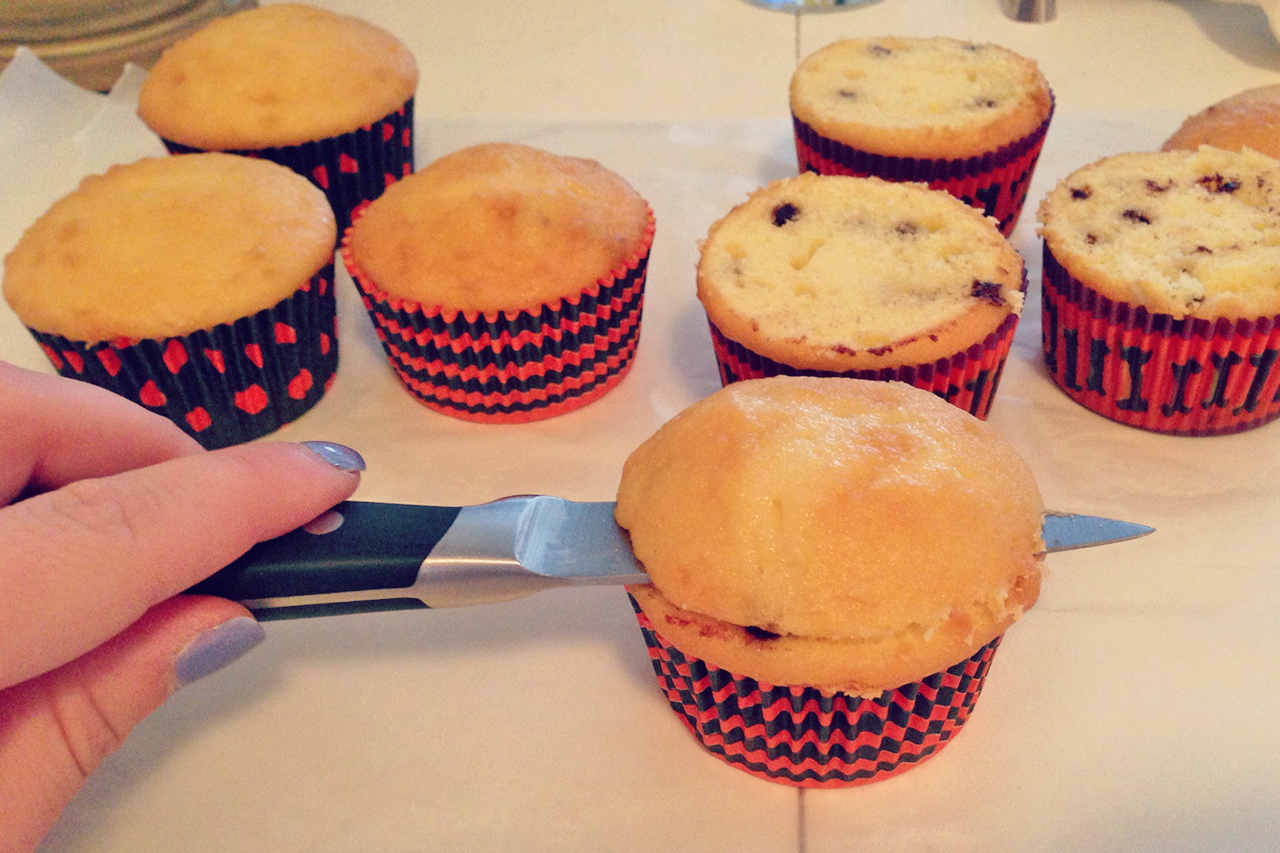
Cut the tops of the cupcakes off so you have a flat surface.
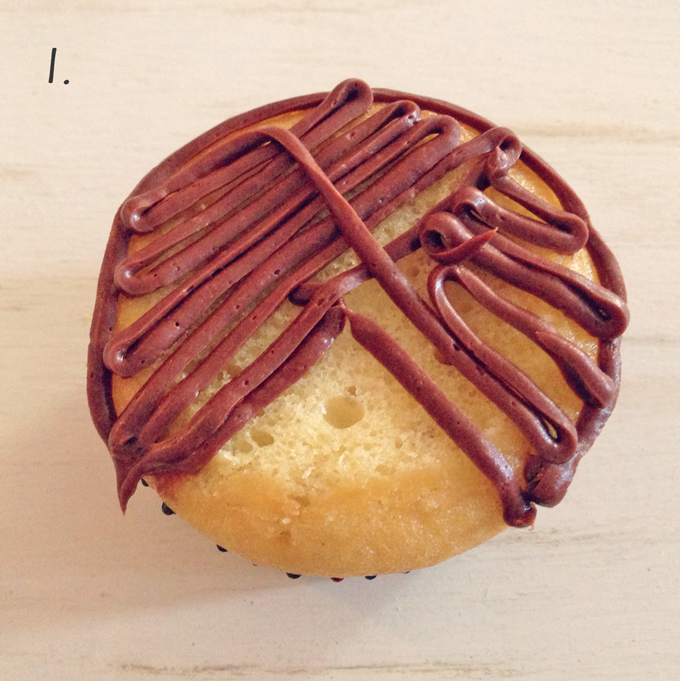
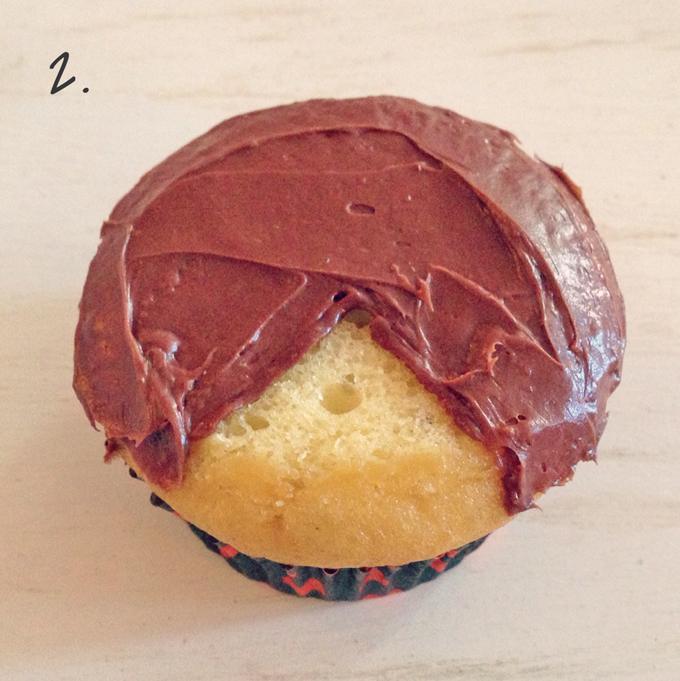
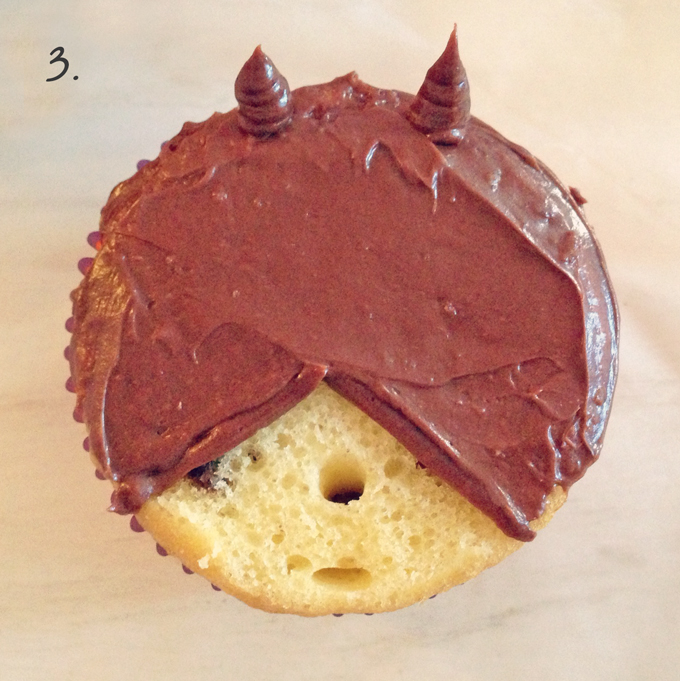
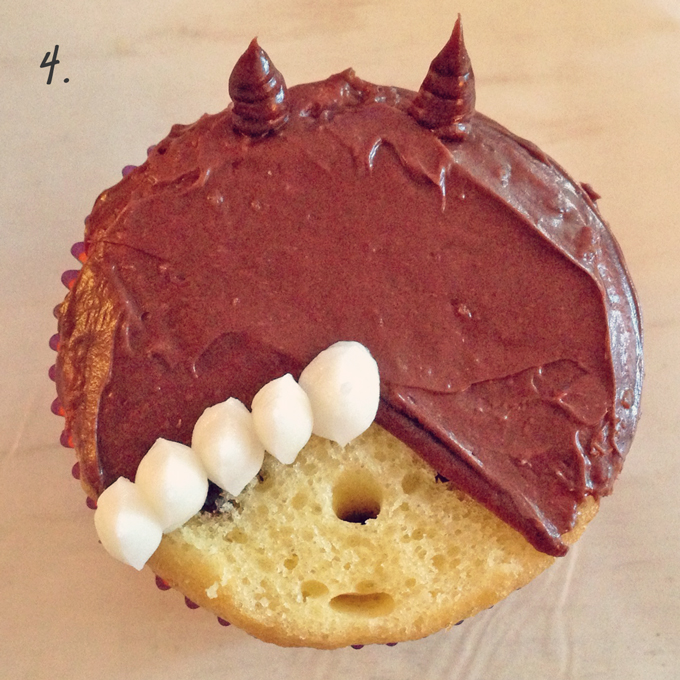
Using a butter knife or angled spatula cover ¾ of the cupcake with chocolate frosting, leaving a ¼ pie shape unfrosted. Fill a piping bag with chocolate frosting and cut a small piece off the bottom. Create 2 small ears on each side by squeezing and pulling straight up. Fill a separate piping bag with vanilla frosting and cut a small piece off the bottom. Fill in the unfrosted area by lightly squeezing and pulling up to create white dots until fully covered.
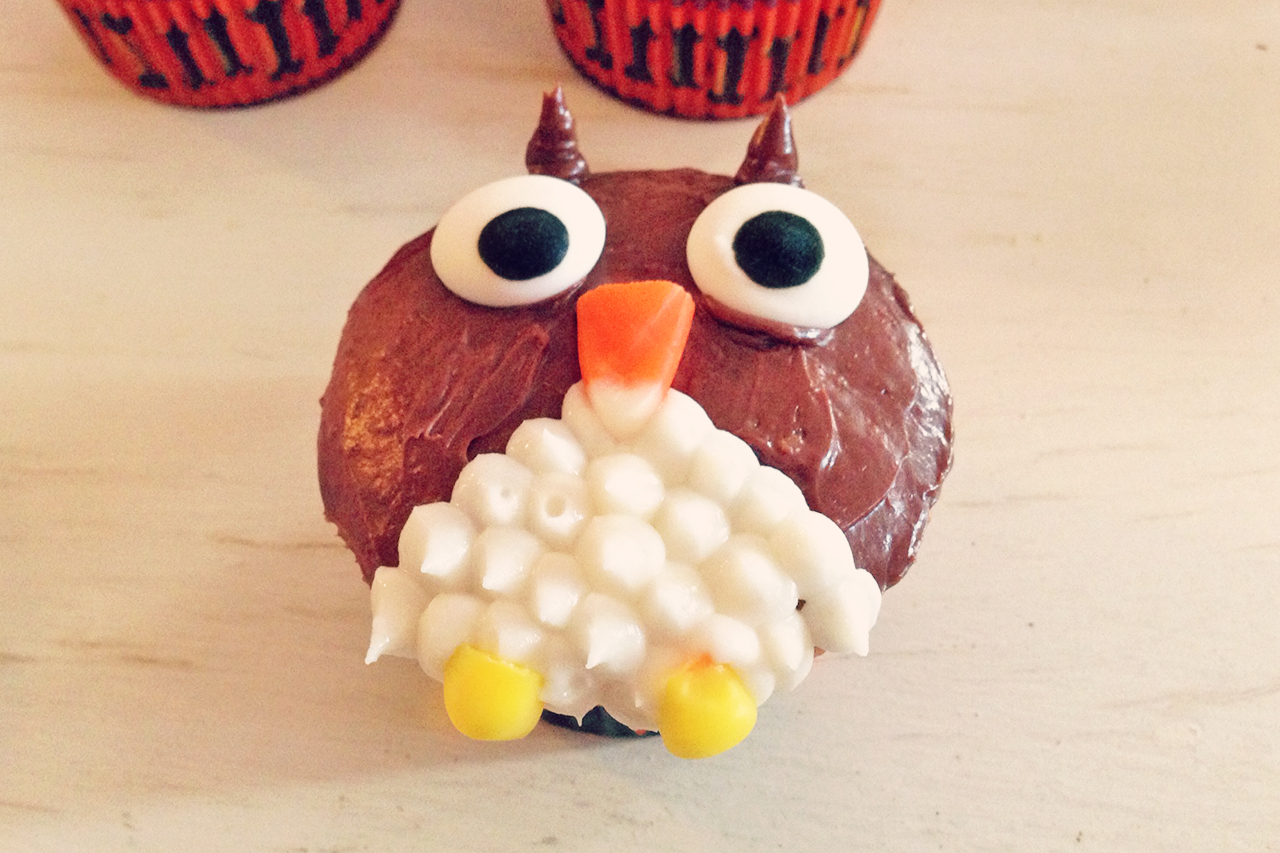
Place 2 giant eyes on the chocolate section. Using the candy corns, place the beak and 2 feet on. Plate and serve!
Homemade Vanilla Buttercream Frosting
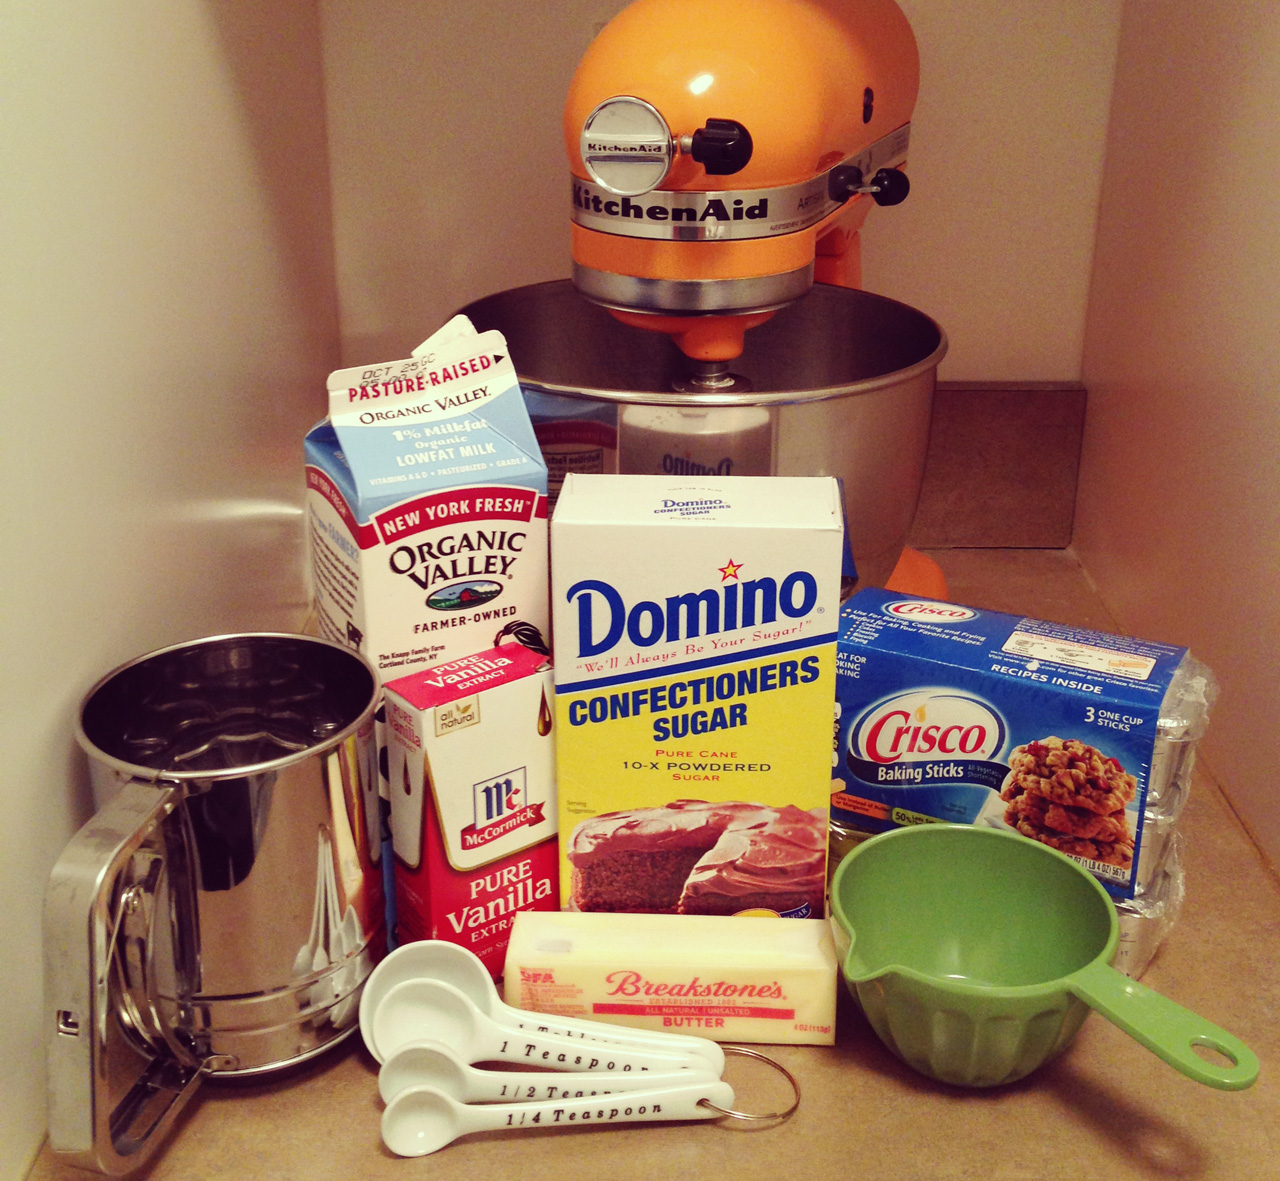
Ingredients:
1 stick of butter (softened at room temperature)
12 oz./1.5 cups solid vegetable shortening
1 teaspoon vanilla extract
4 cups confectioners sugar (sifted)
1-2 tablespoons milk
Pinch of salt

Using a large bowl, mix the shortening and butter with an electric mixer until blended together and creamy. Add vanilla. In a separate bowl, sift the confectioners’ sugar. Gradually add the sugar into the mixture, on medium (be careful not to add too much sugar at a time or else it will overflow and fly everywhere). Occasionally stop to scrape the sides of the bowl. Mix until all the sugar is incorporated. Add a pinch of salt to give it just a hint of saltiness (if you desire). Add 1 tablespoon of milk. If the mixture is too dry, add more milk. If it is too runny, add more confectioners’ sugar. Keep bowl covered and chilled until ready to use. Frosting can be stored in an airtight container in the refrigerator for up to 2 weeks.
For order info & more homemade desserts, follow @dearlizas on Instagram.

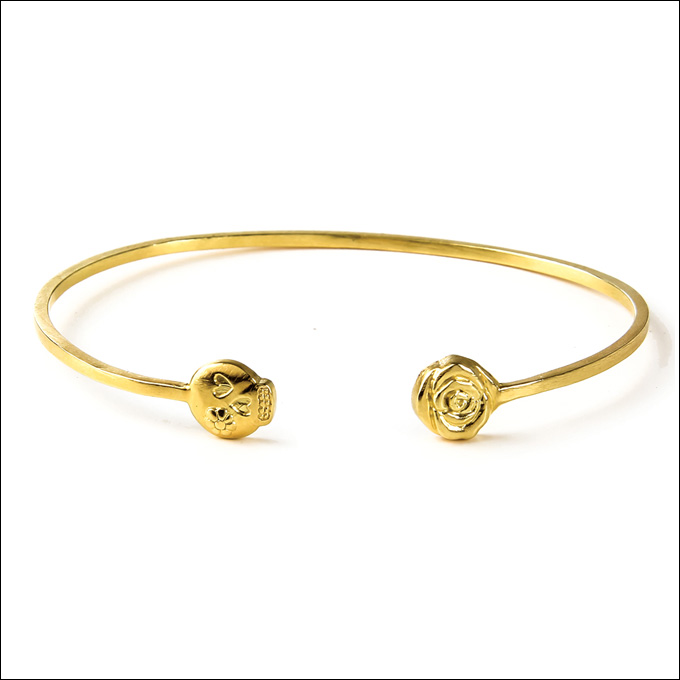
As we gear up for Halloween, we encourage you to let your darker side out to play in enchanting accents with a little extra edge. We’re talking skulls, slithering snakes, onyx gems, daggers, lightening bolts and lots more.
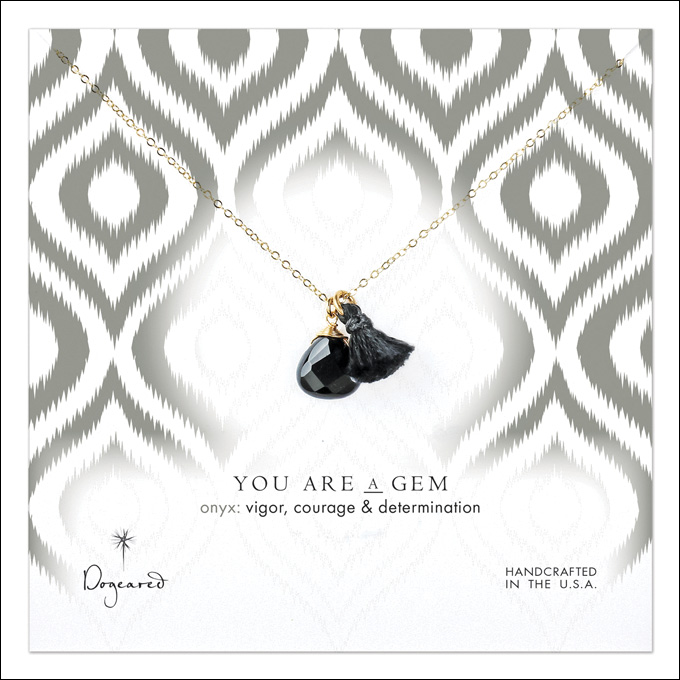

shop by item above and visit our curated collection for more black magic
This Halloween we wanted to cook up some super fun and adorable treats! We asked New York based, homemade dessert extraordinaire Dear Liza’s, to share some of her favorite, easy-to-make, Halloween desserts!
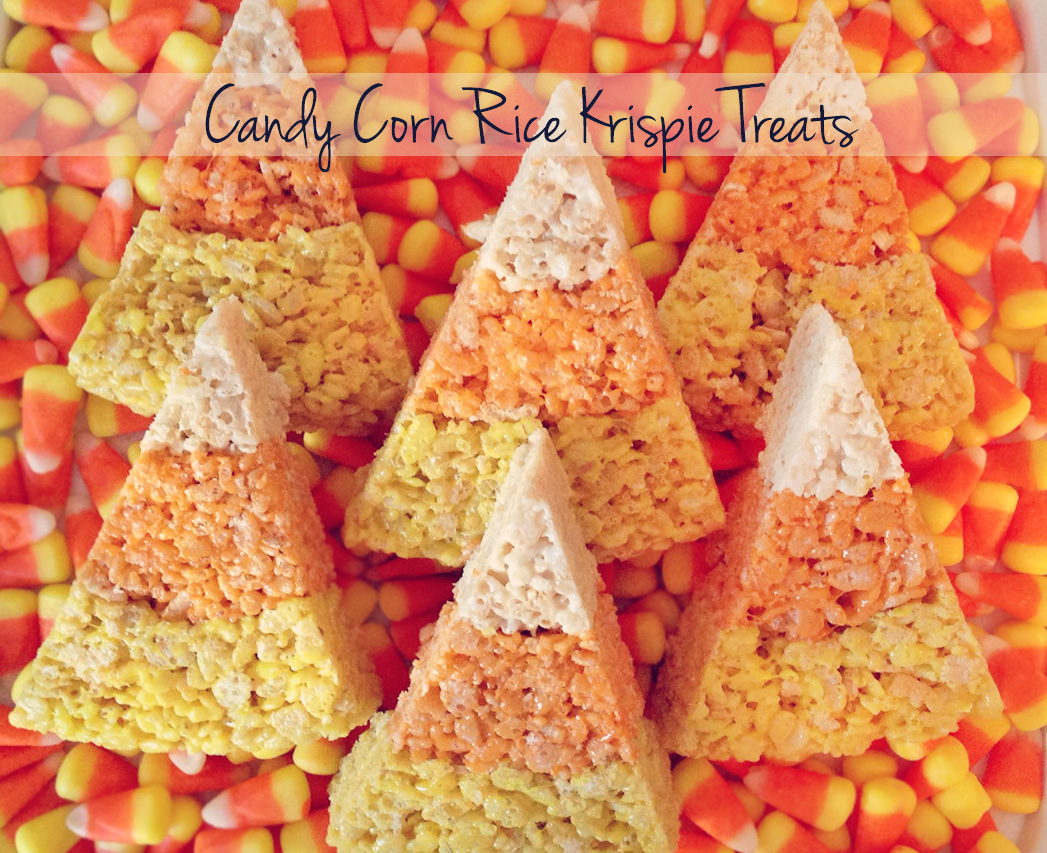
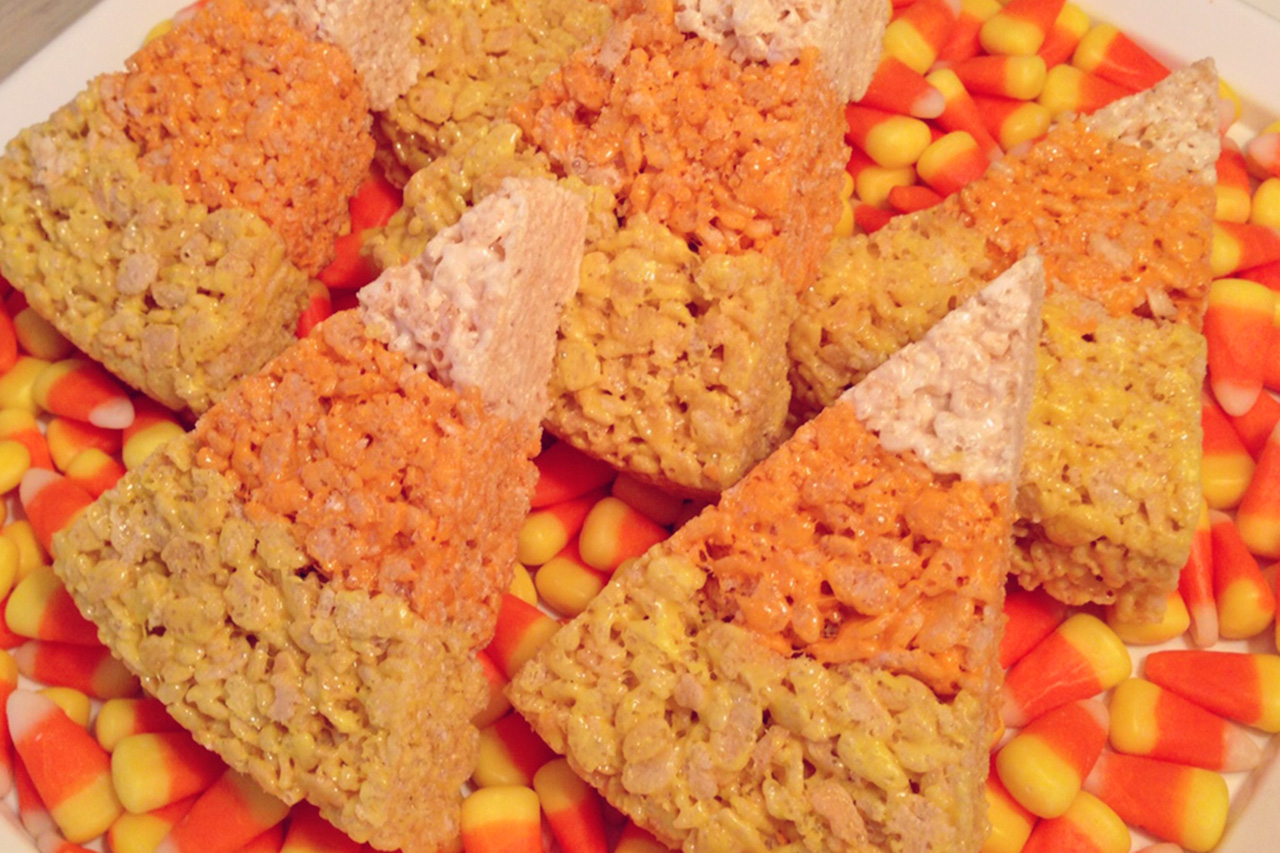
Candy Corn Rice Krispie Treats

For the Yellow
4 ½ cups rice krispies cereal
5 cups mini marshmallows
3 tablespoons butter Yellow food coloring
For the Orange
3 cups rice krispies cereal
4 cups mini marshmallows
2 tablespoons butter Orange food coloring (or red + yellow)
For the White
2 cups rice krispies cereal
2 ½ cups mini marshmallows
1 ½ tablespoons butter
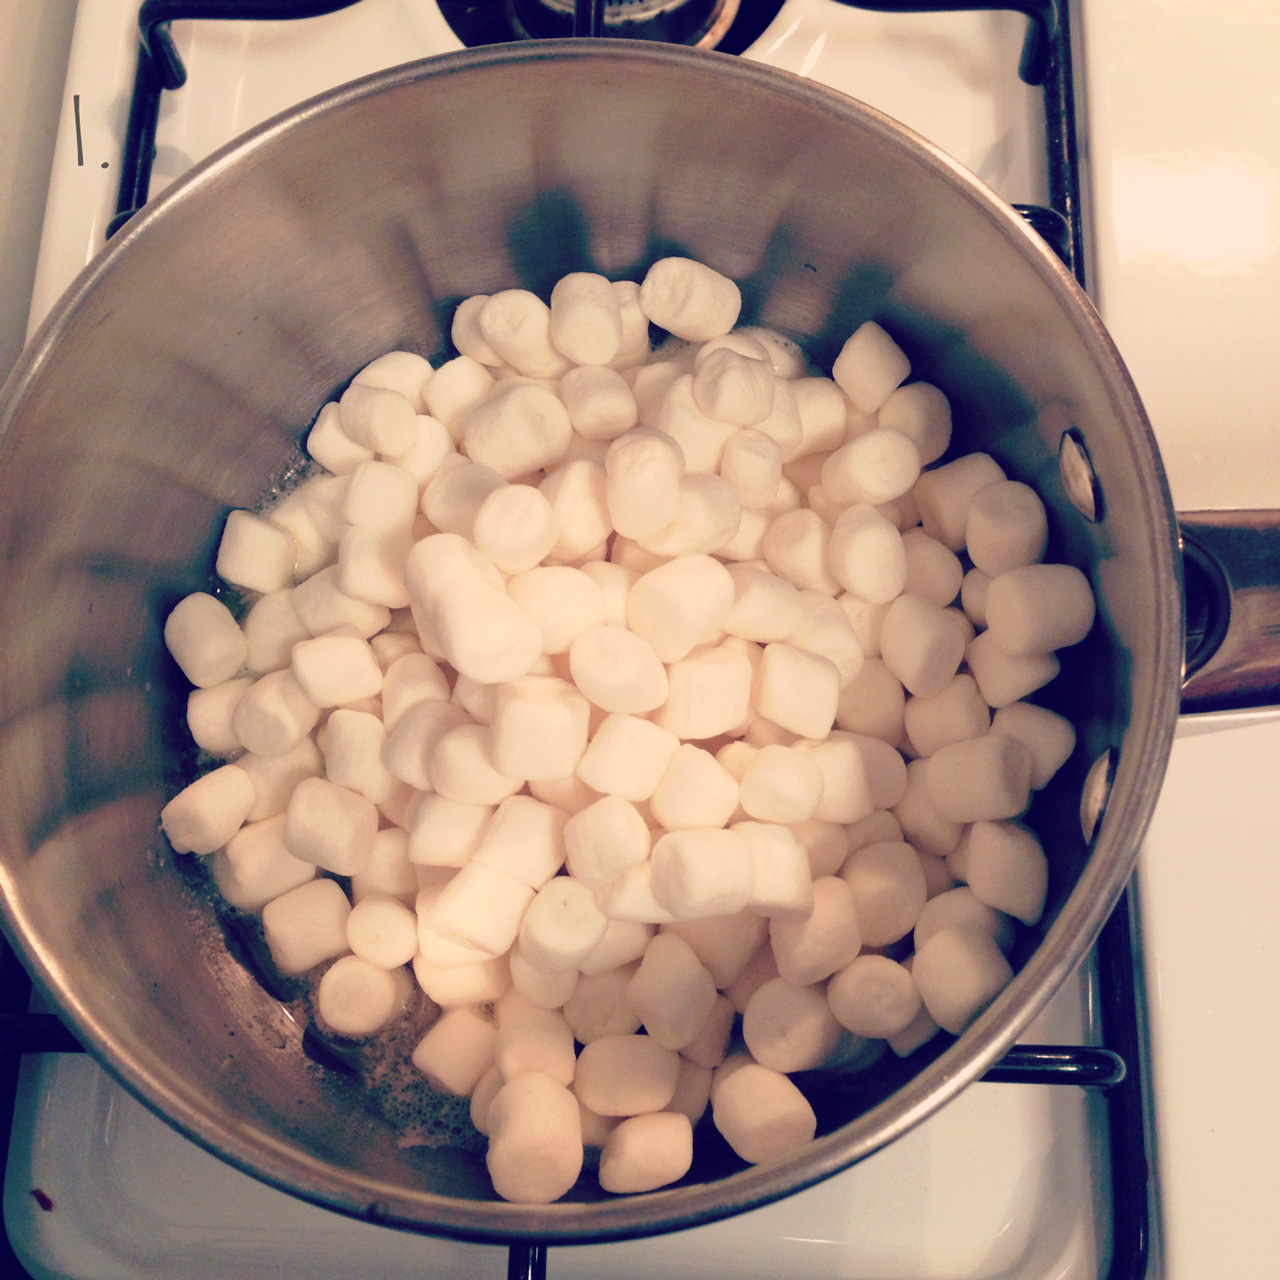


Lightly coat two 9” round cake pans and a rubber spatula with non-stick cooking spray and set aside. Starting with the yellow layer, measure out cereal into a mixing bowl. Using a large saucepan melt the butter on low. Once butter is melted, add the marshmallows. Stir until completely melted and runny. Add the color one drop at a time until you reach desired color. Add the marshmallow mixture to the cereal and stir until fully incorporated.
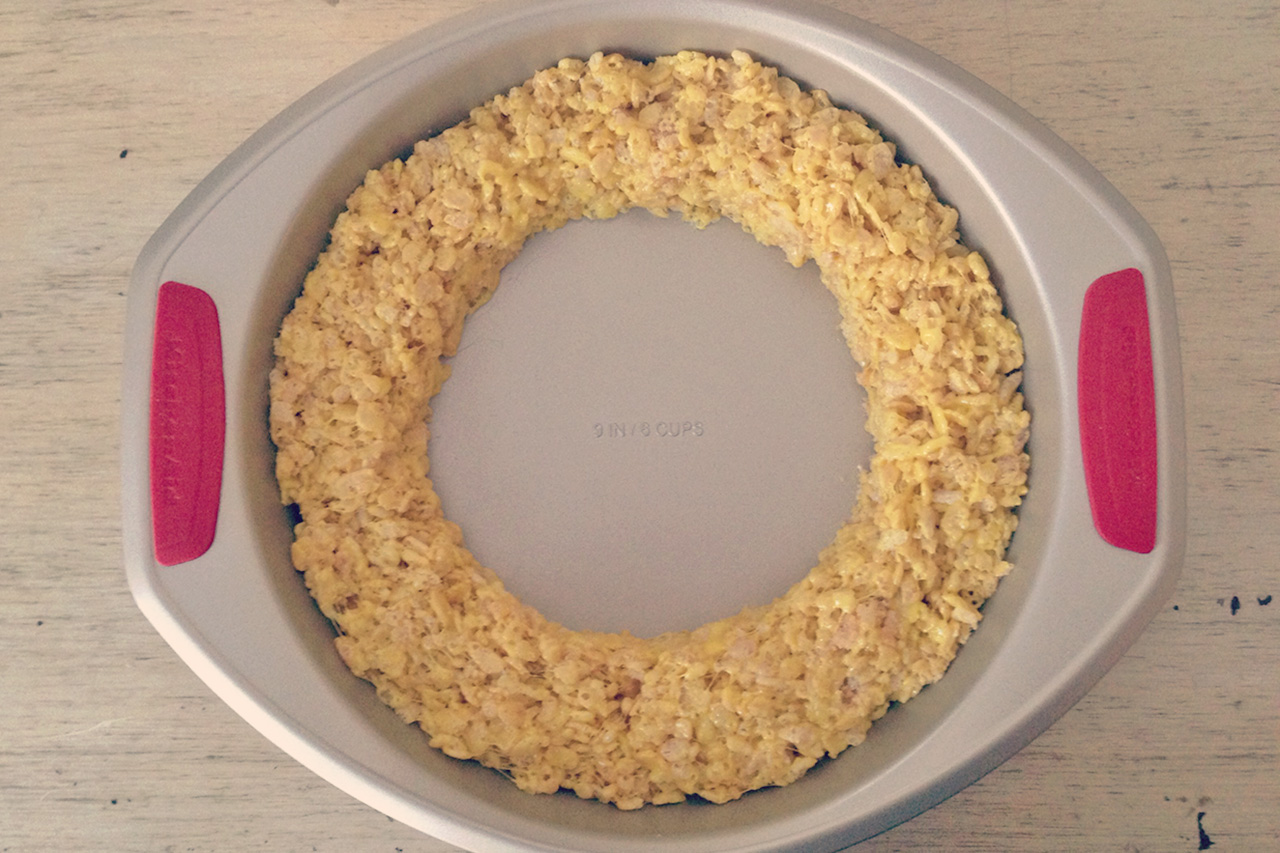
Using your hands, take half of the mixture and create a “ring” around the inside edge of the cake pan (about 1 ½ in. wide). If the mixture is sticking to your hands, lightly coat fingertips with butter. Work quickly because the mixture becomes harder to mold as it cools. Repeat the same in the other cake pan.
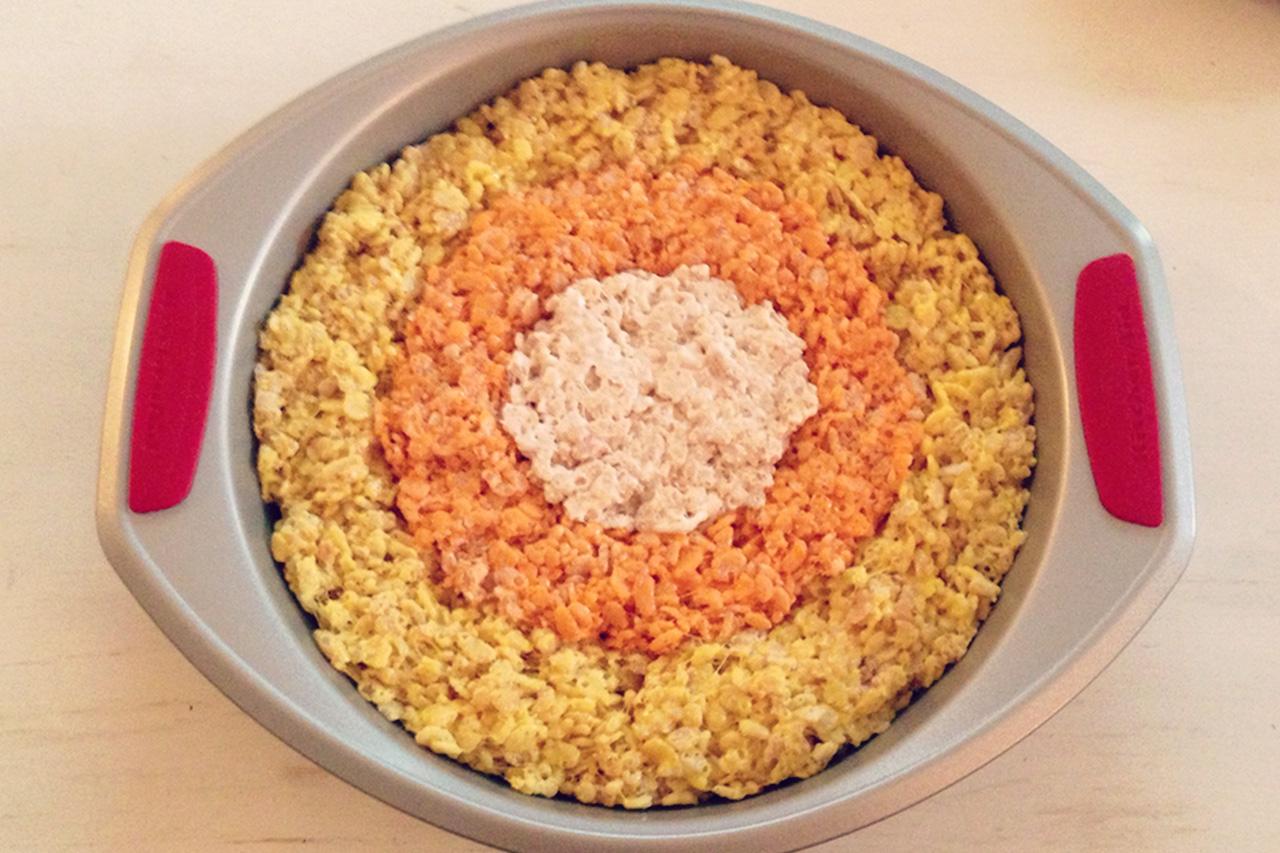
Wash bowls and spatulas and repeat the above process for the orange and white sections. Once all three layers are pressed into pans, allow to set and cool for 1 hour. You can also place them covered in the refrigerator to cut time in half.
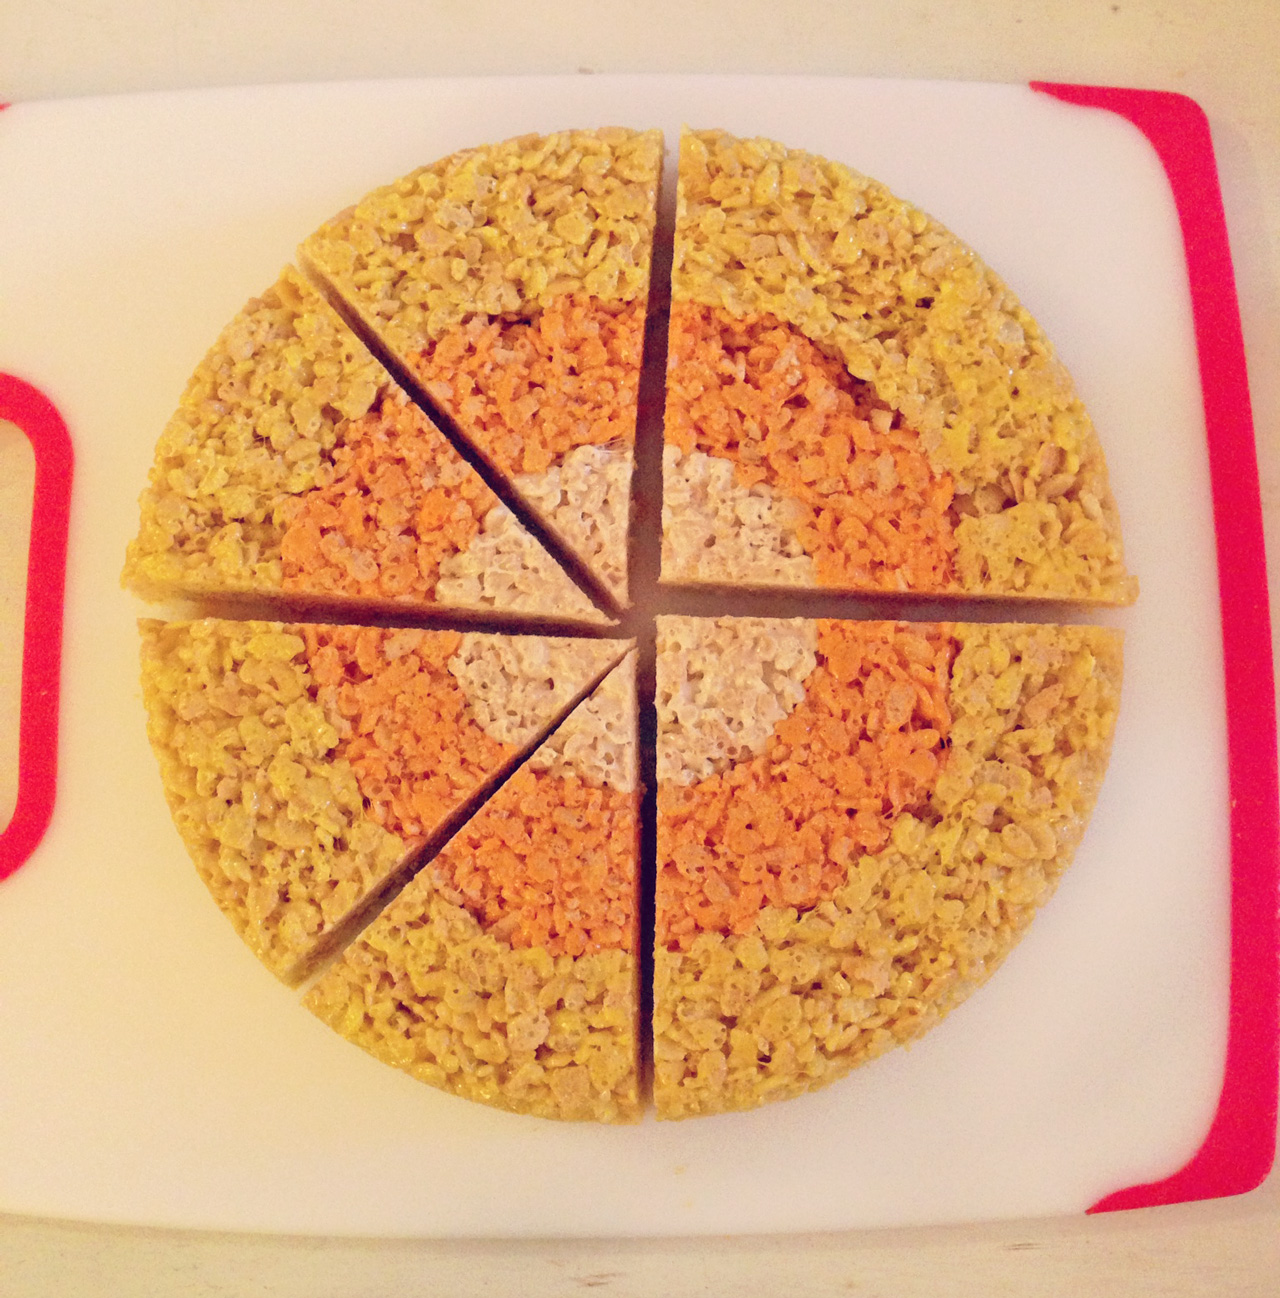
When ready to cut, flip over cake pans onto a cutting board and remove the round treat. Cut the large round in half, then quarters and each quarter in half. Plate and serve!
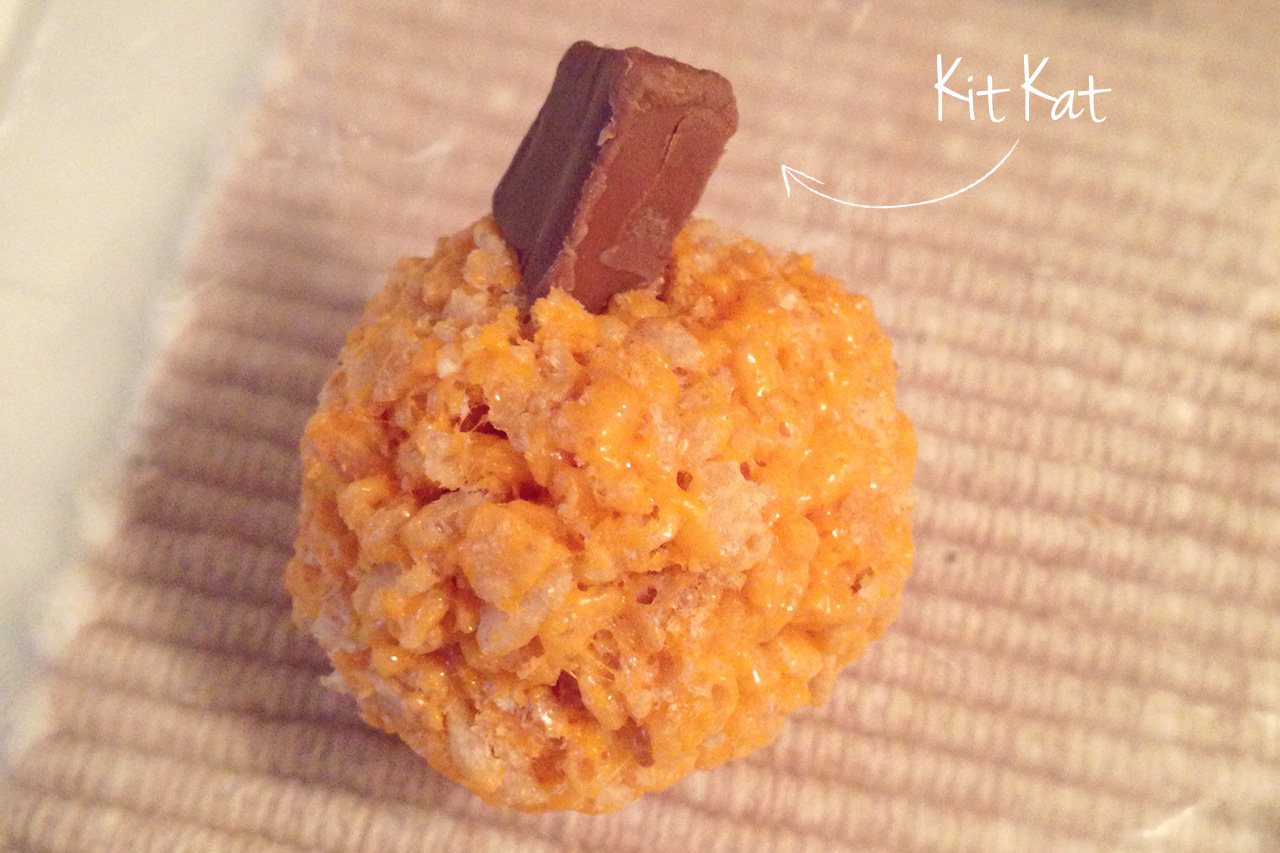
Fun tip: if you have left overs from the orange layer take a small handful and roll into a ball forming a pumpkin shape. Using a Kit Kat bar cut a small piece and stick into the top for a stem.
For order info & more homemade desserts, follow @dearlizas on Instagram.
Stay tuned for new Halloween treats next week!


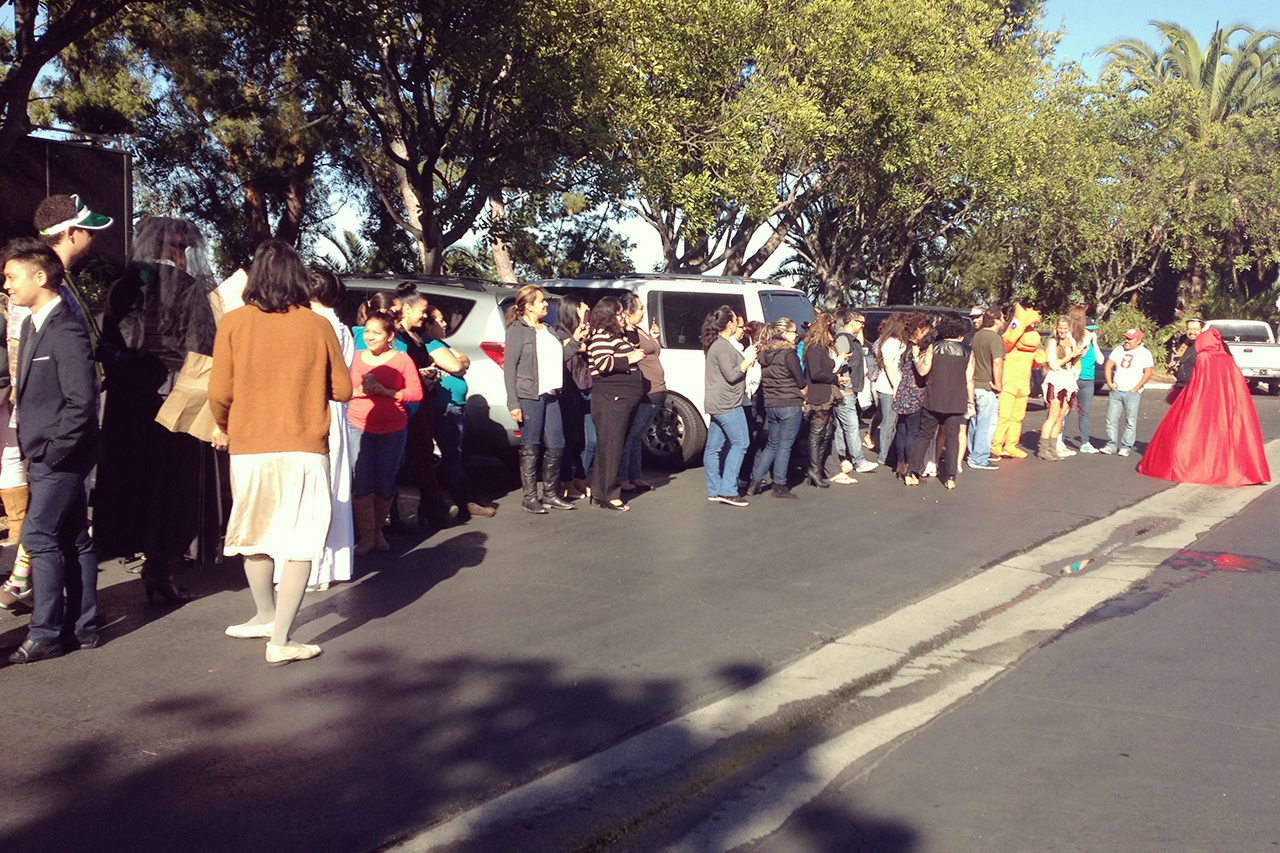
Happy Halloween from team Dogeared! Visit our Facebook for even more pics!